
There are a few ways to make a Granny Square, and they are surprisingly versatile. This is how I like to make my Granny Squares, and the basics behind them! For this one, I am using a crochet hook that is roughly sized correctly to the yarn thickness. In this case, I am using an H hook with worsted weight yarn.
The skills needed to make a Granny Square are: chain st, double crochet st, slip st.
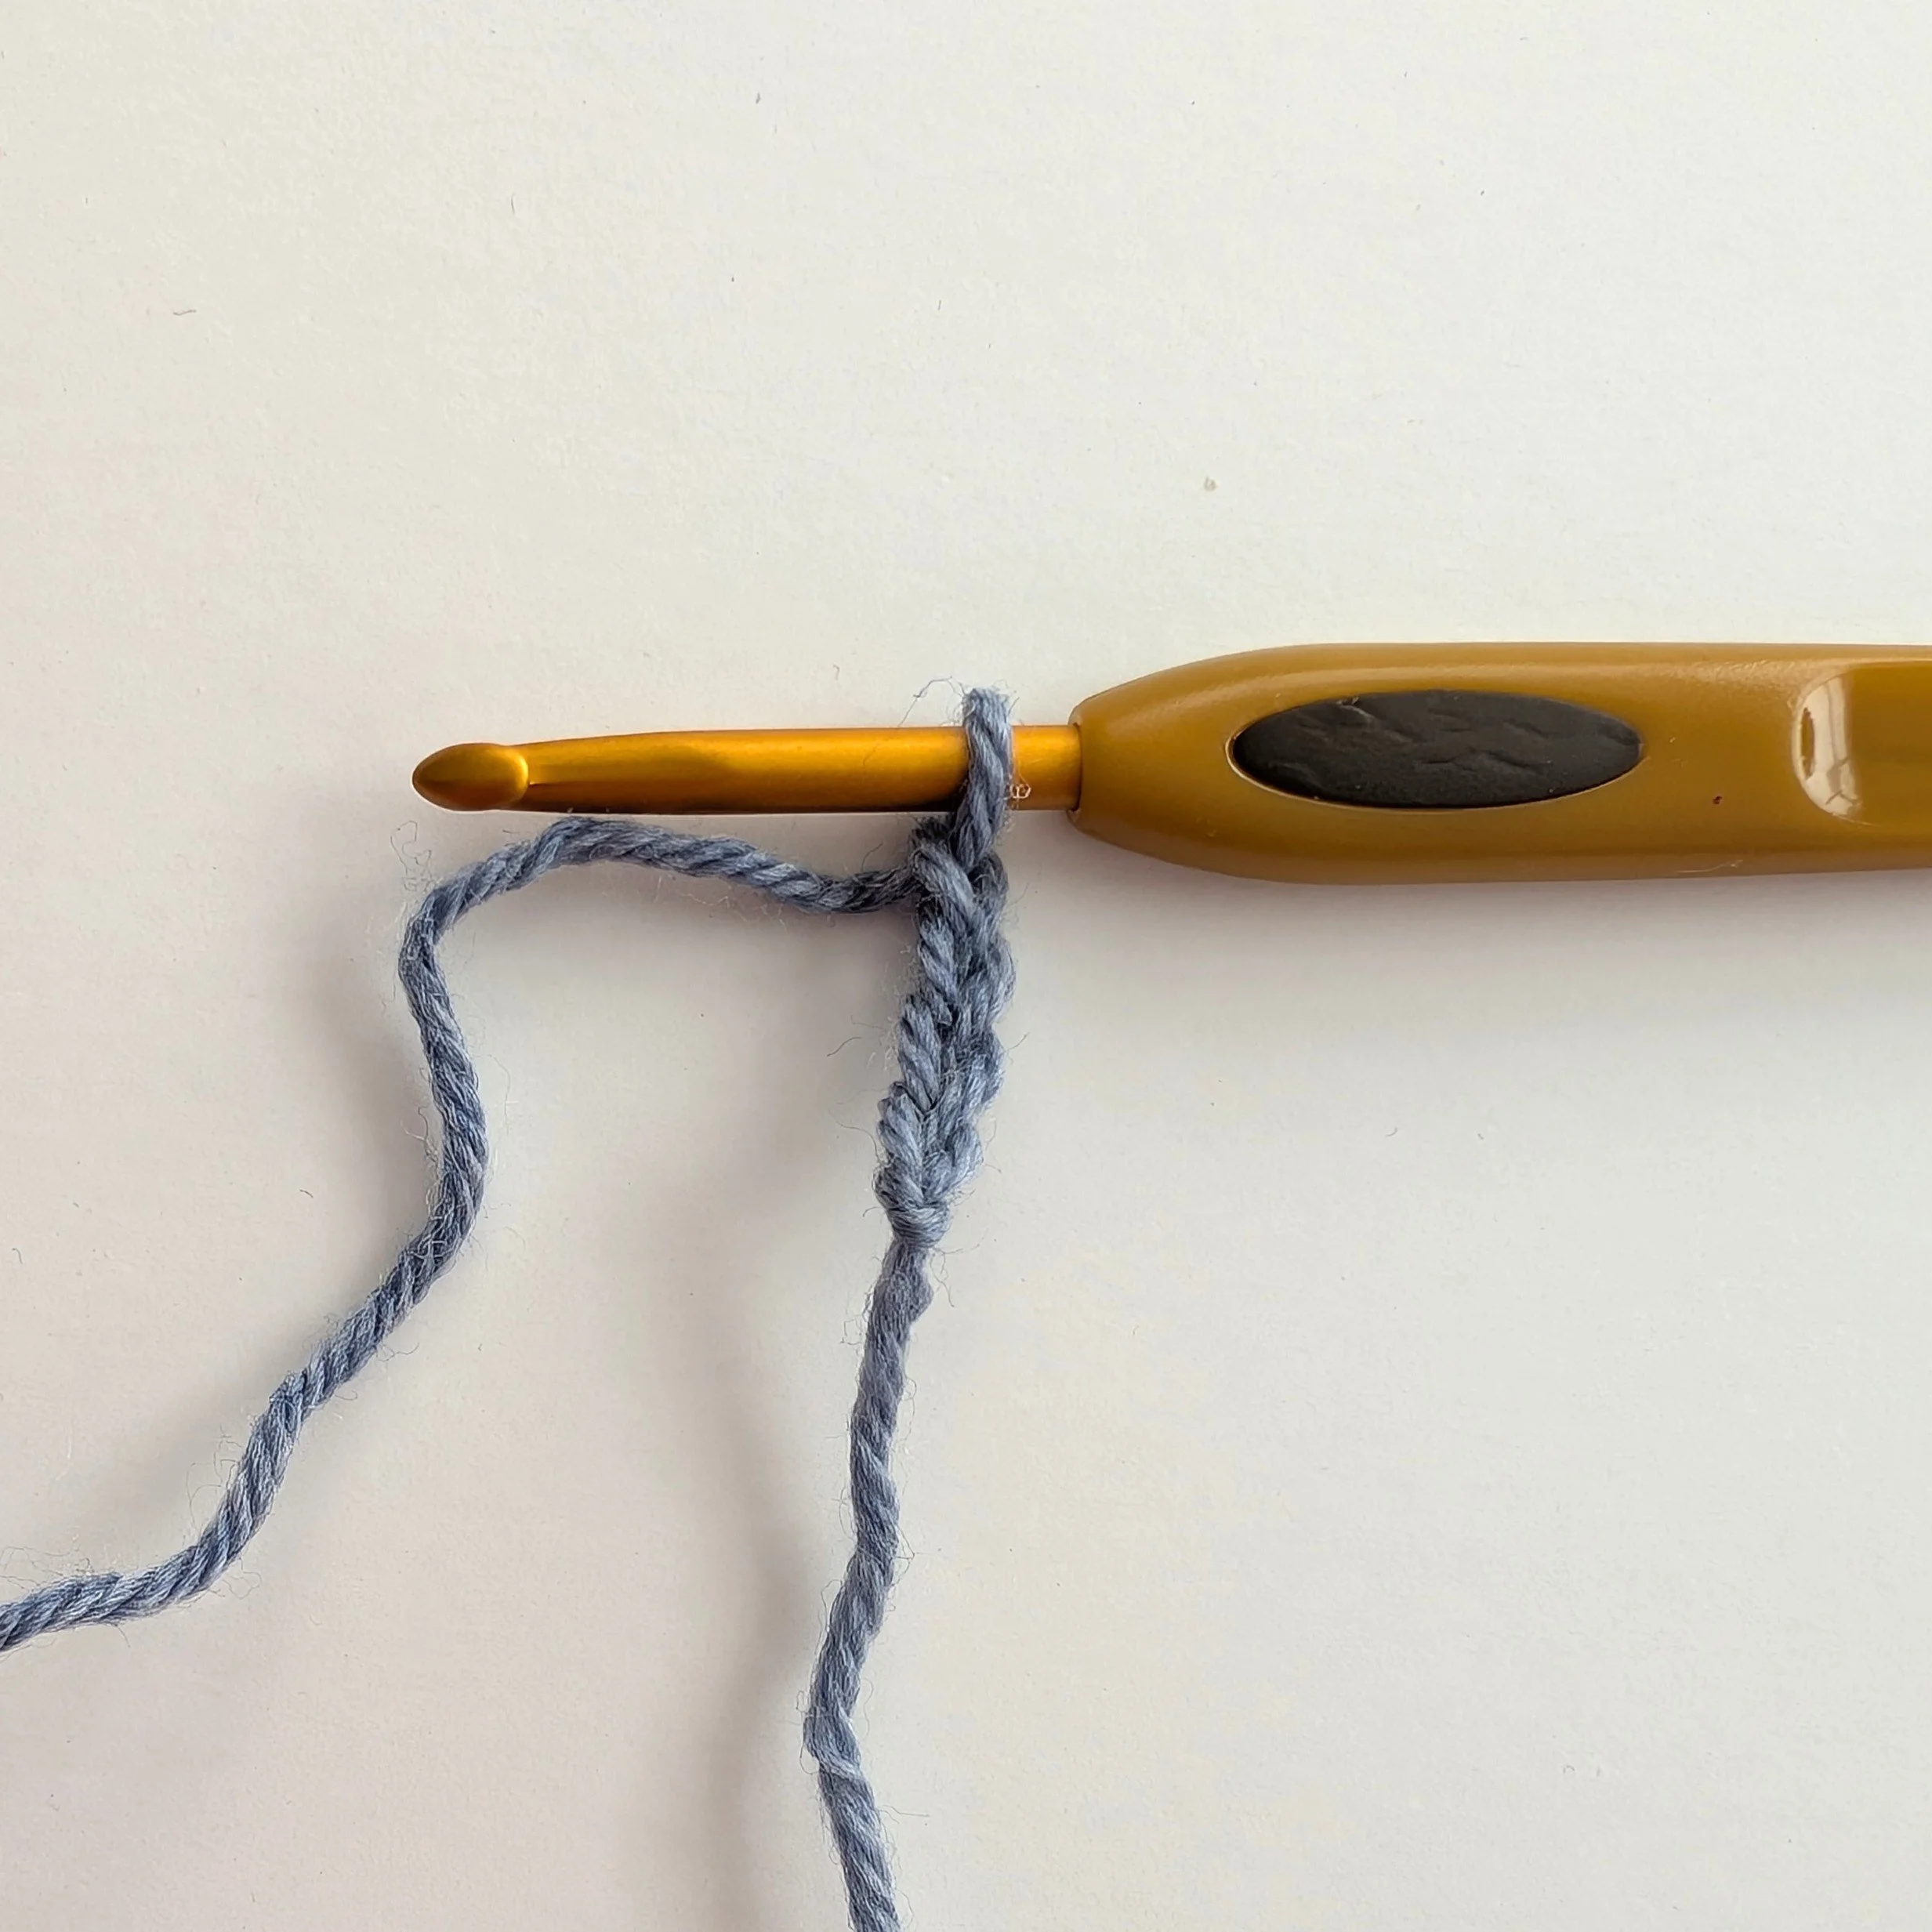
To start, we will make a Foundation Ring. The size of your foundation ring is dependent on how many stitches you chain. I like to chain 4 sts. If you find this makes a circle that’s too small, feel free to chain 5 or 6sts. (Ch is the abbreviation for chain, and I will be using that terminology from now on.)
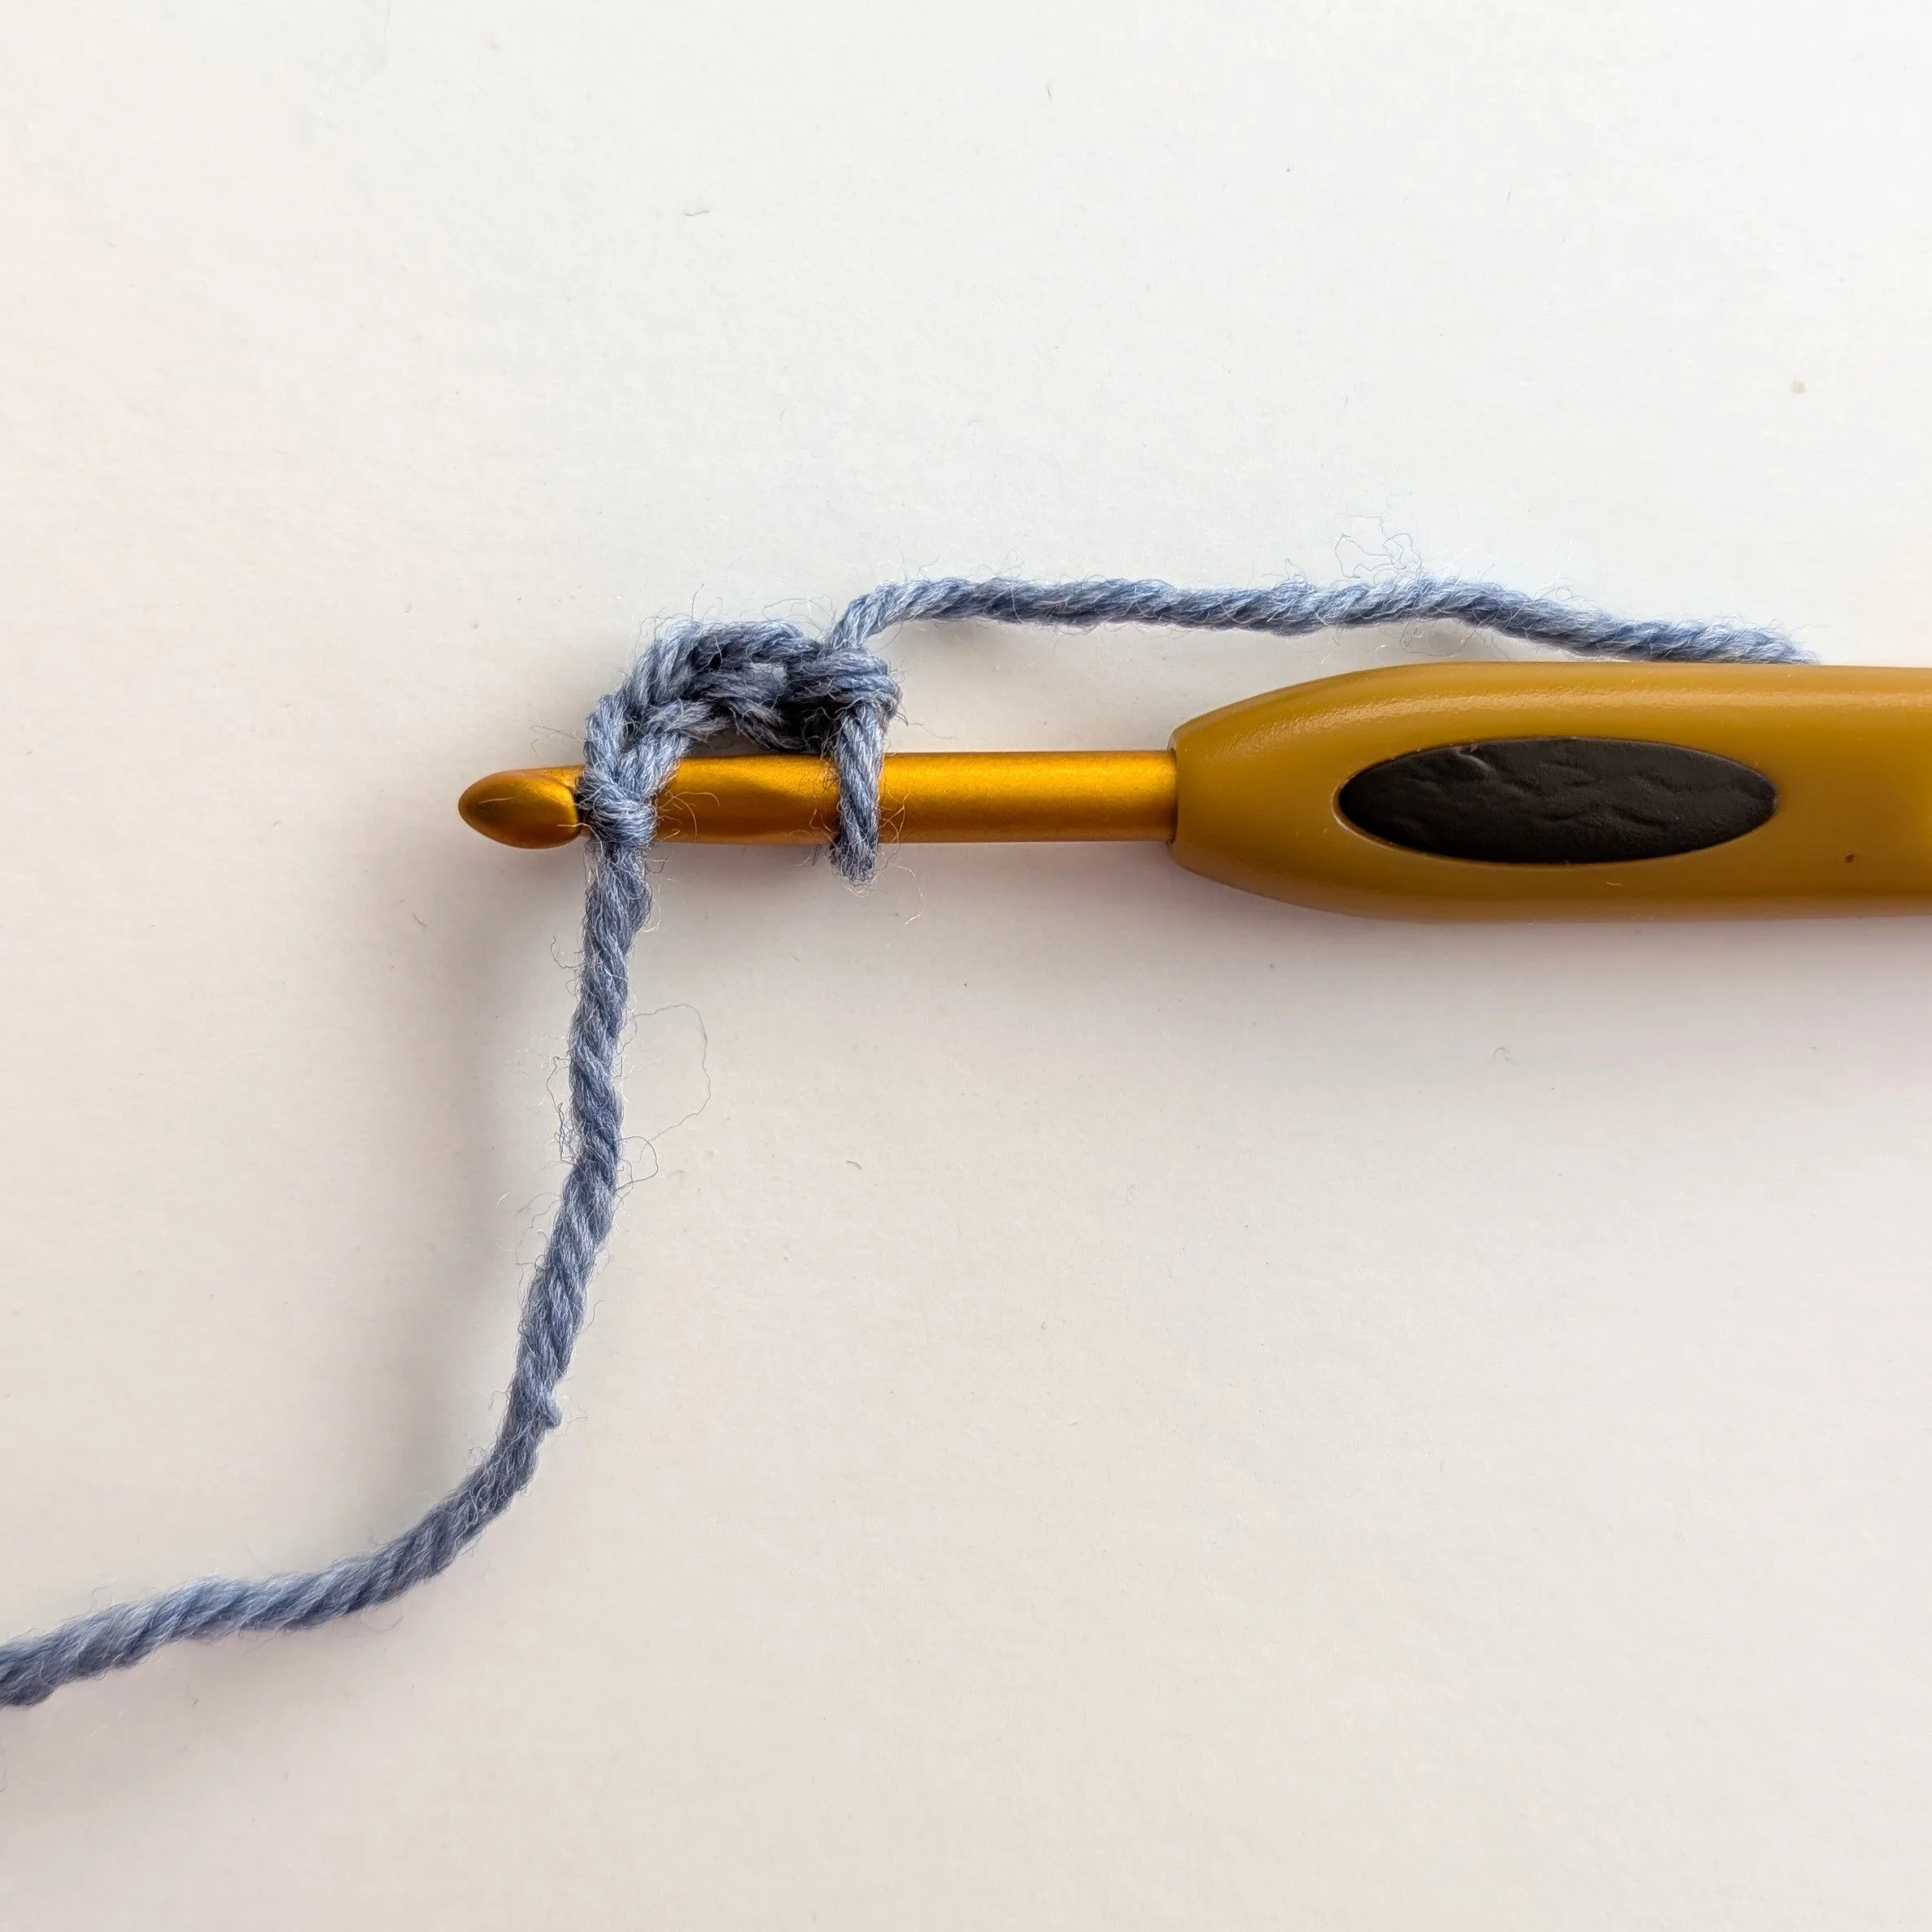
Next, insert your hook into the very first stitch. We want to create a circle by joining the beginning and end of the line of sts.
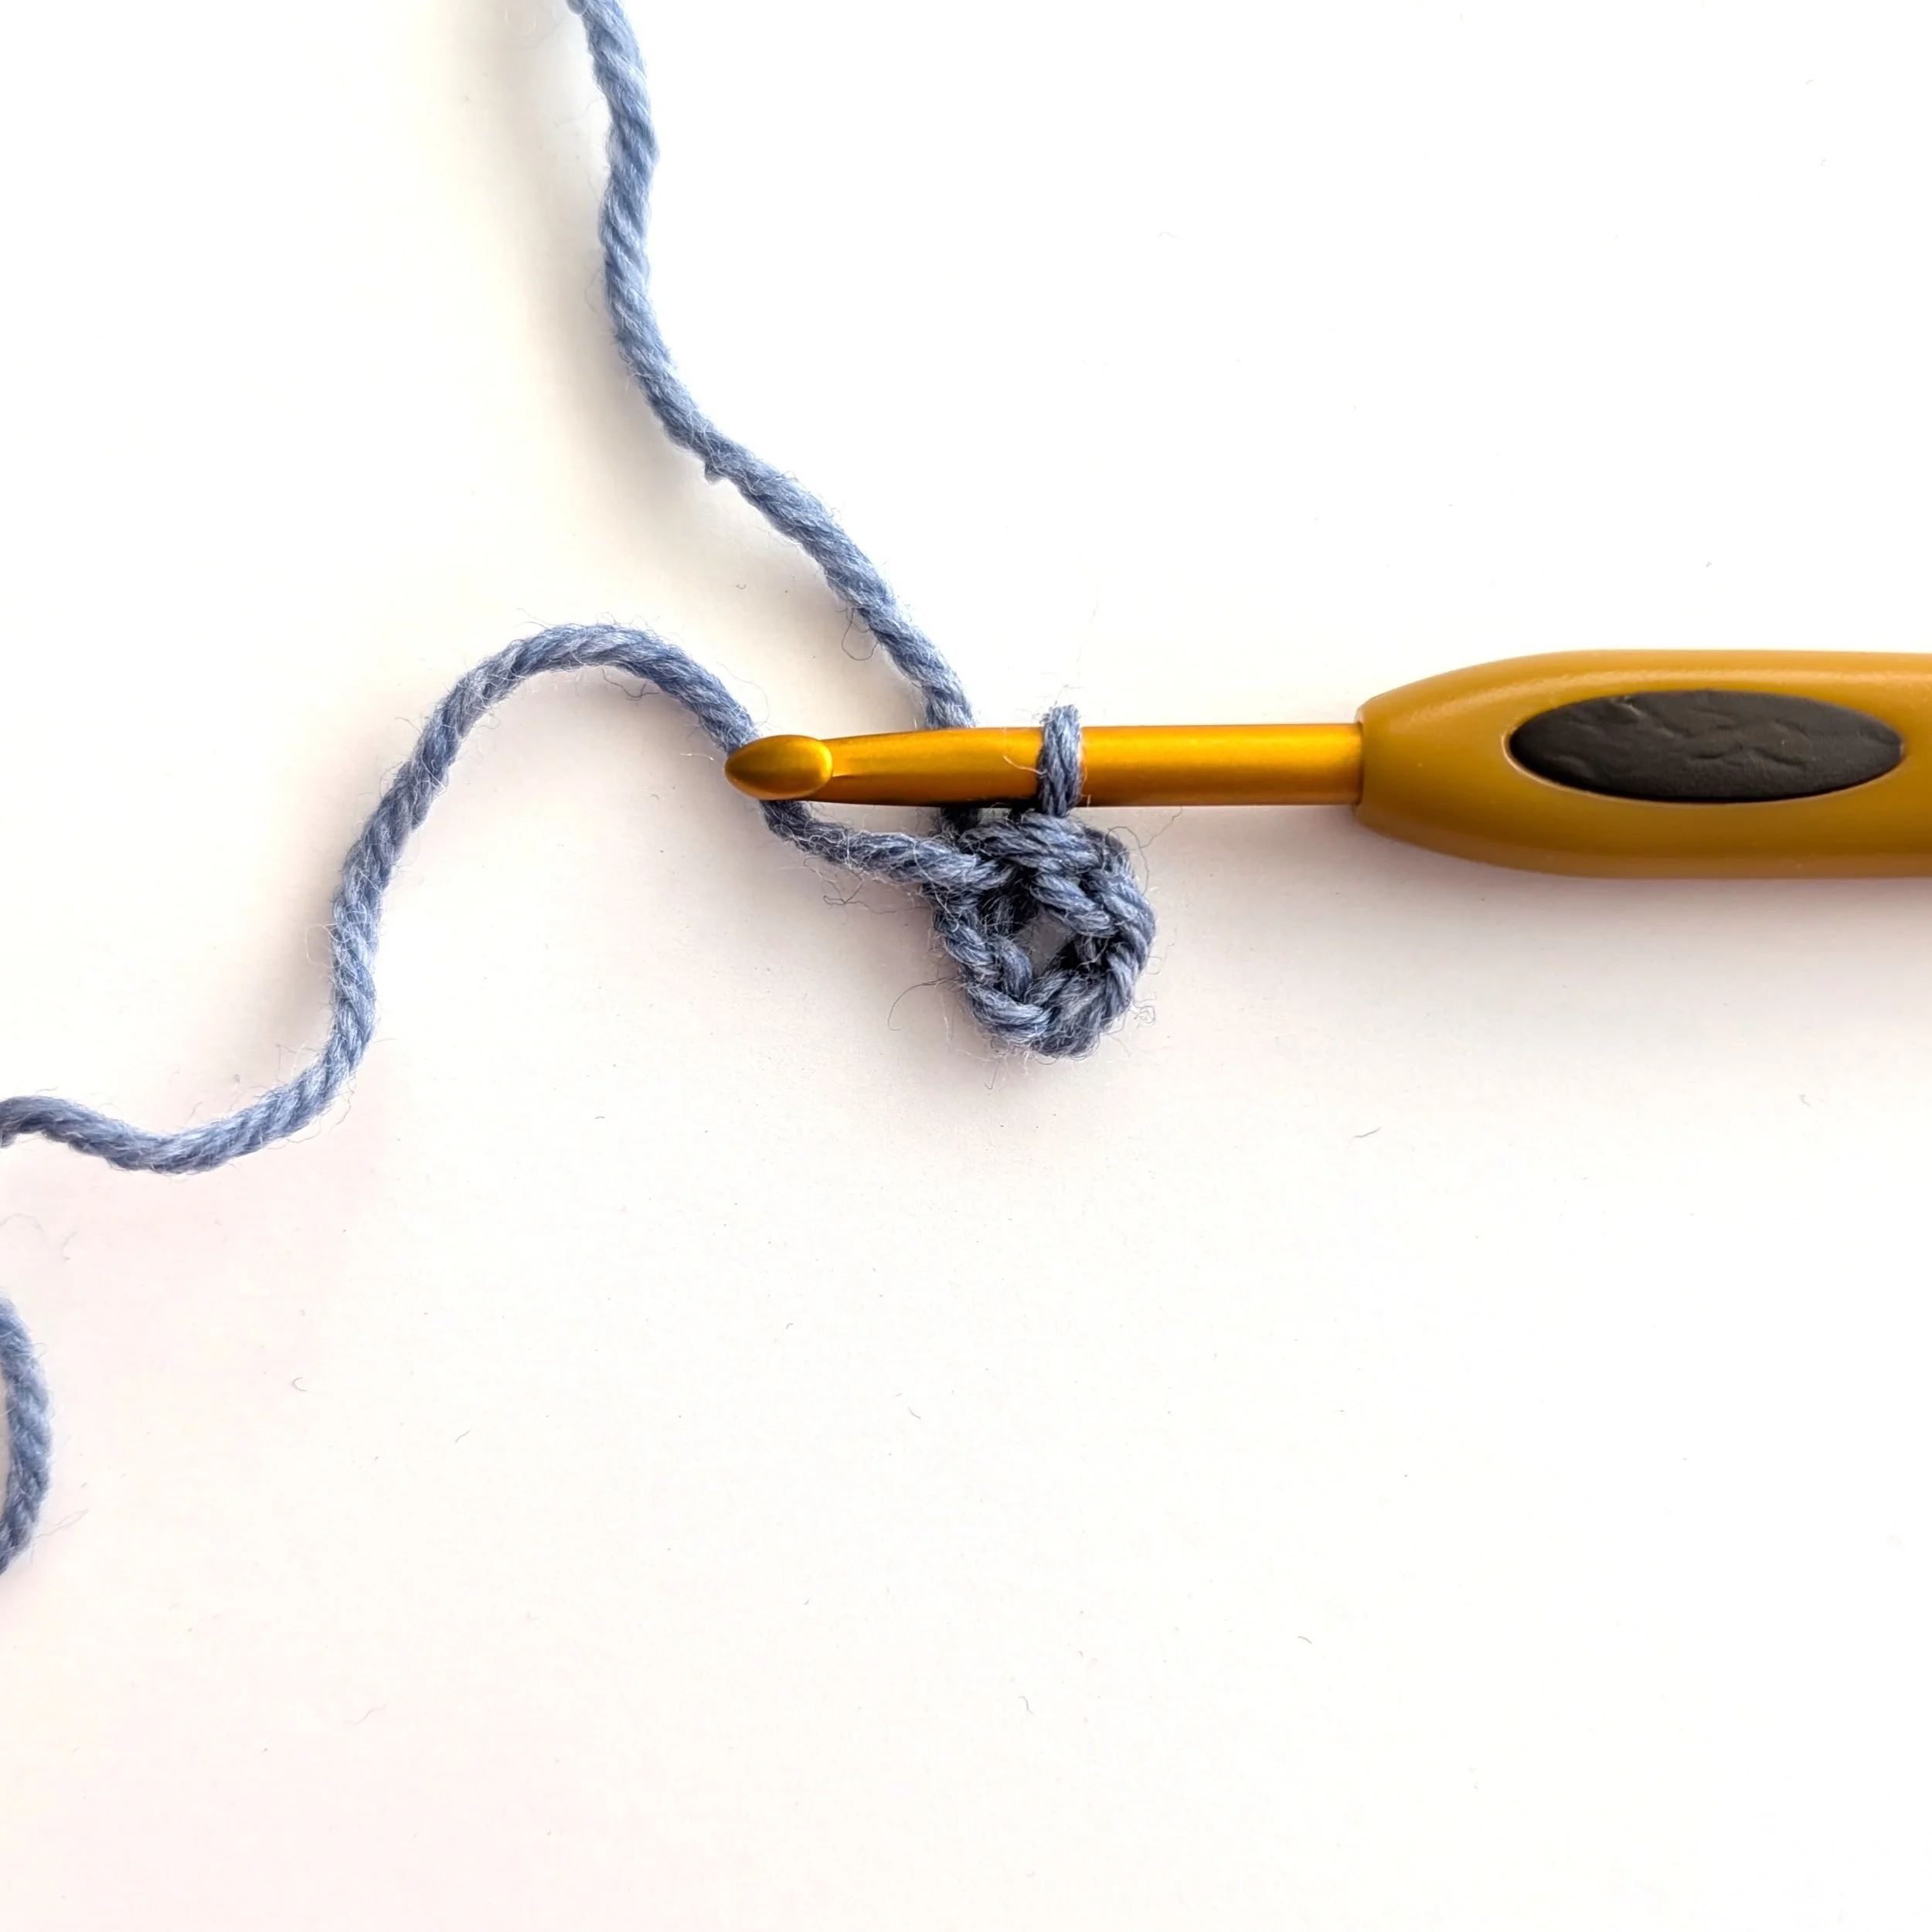
Work a slip stitch to create a loop. You may not see your loop at the beginning, so you may want to tug on the loop section until you start to see it better. And now you have your Foundation Ring.
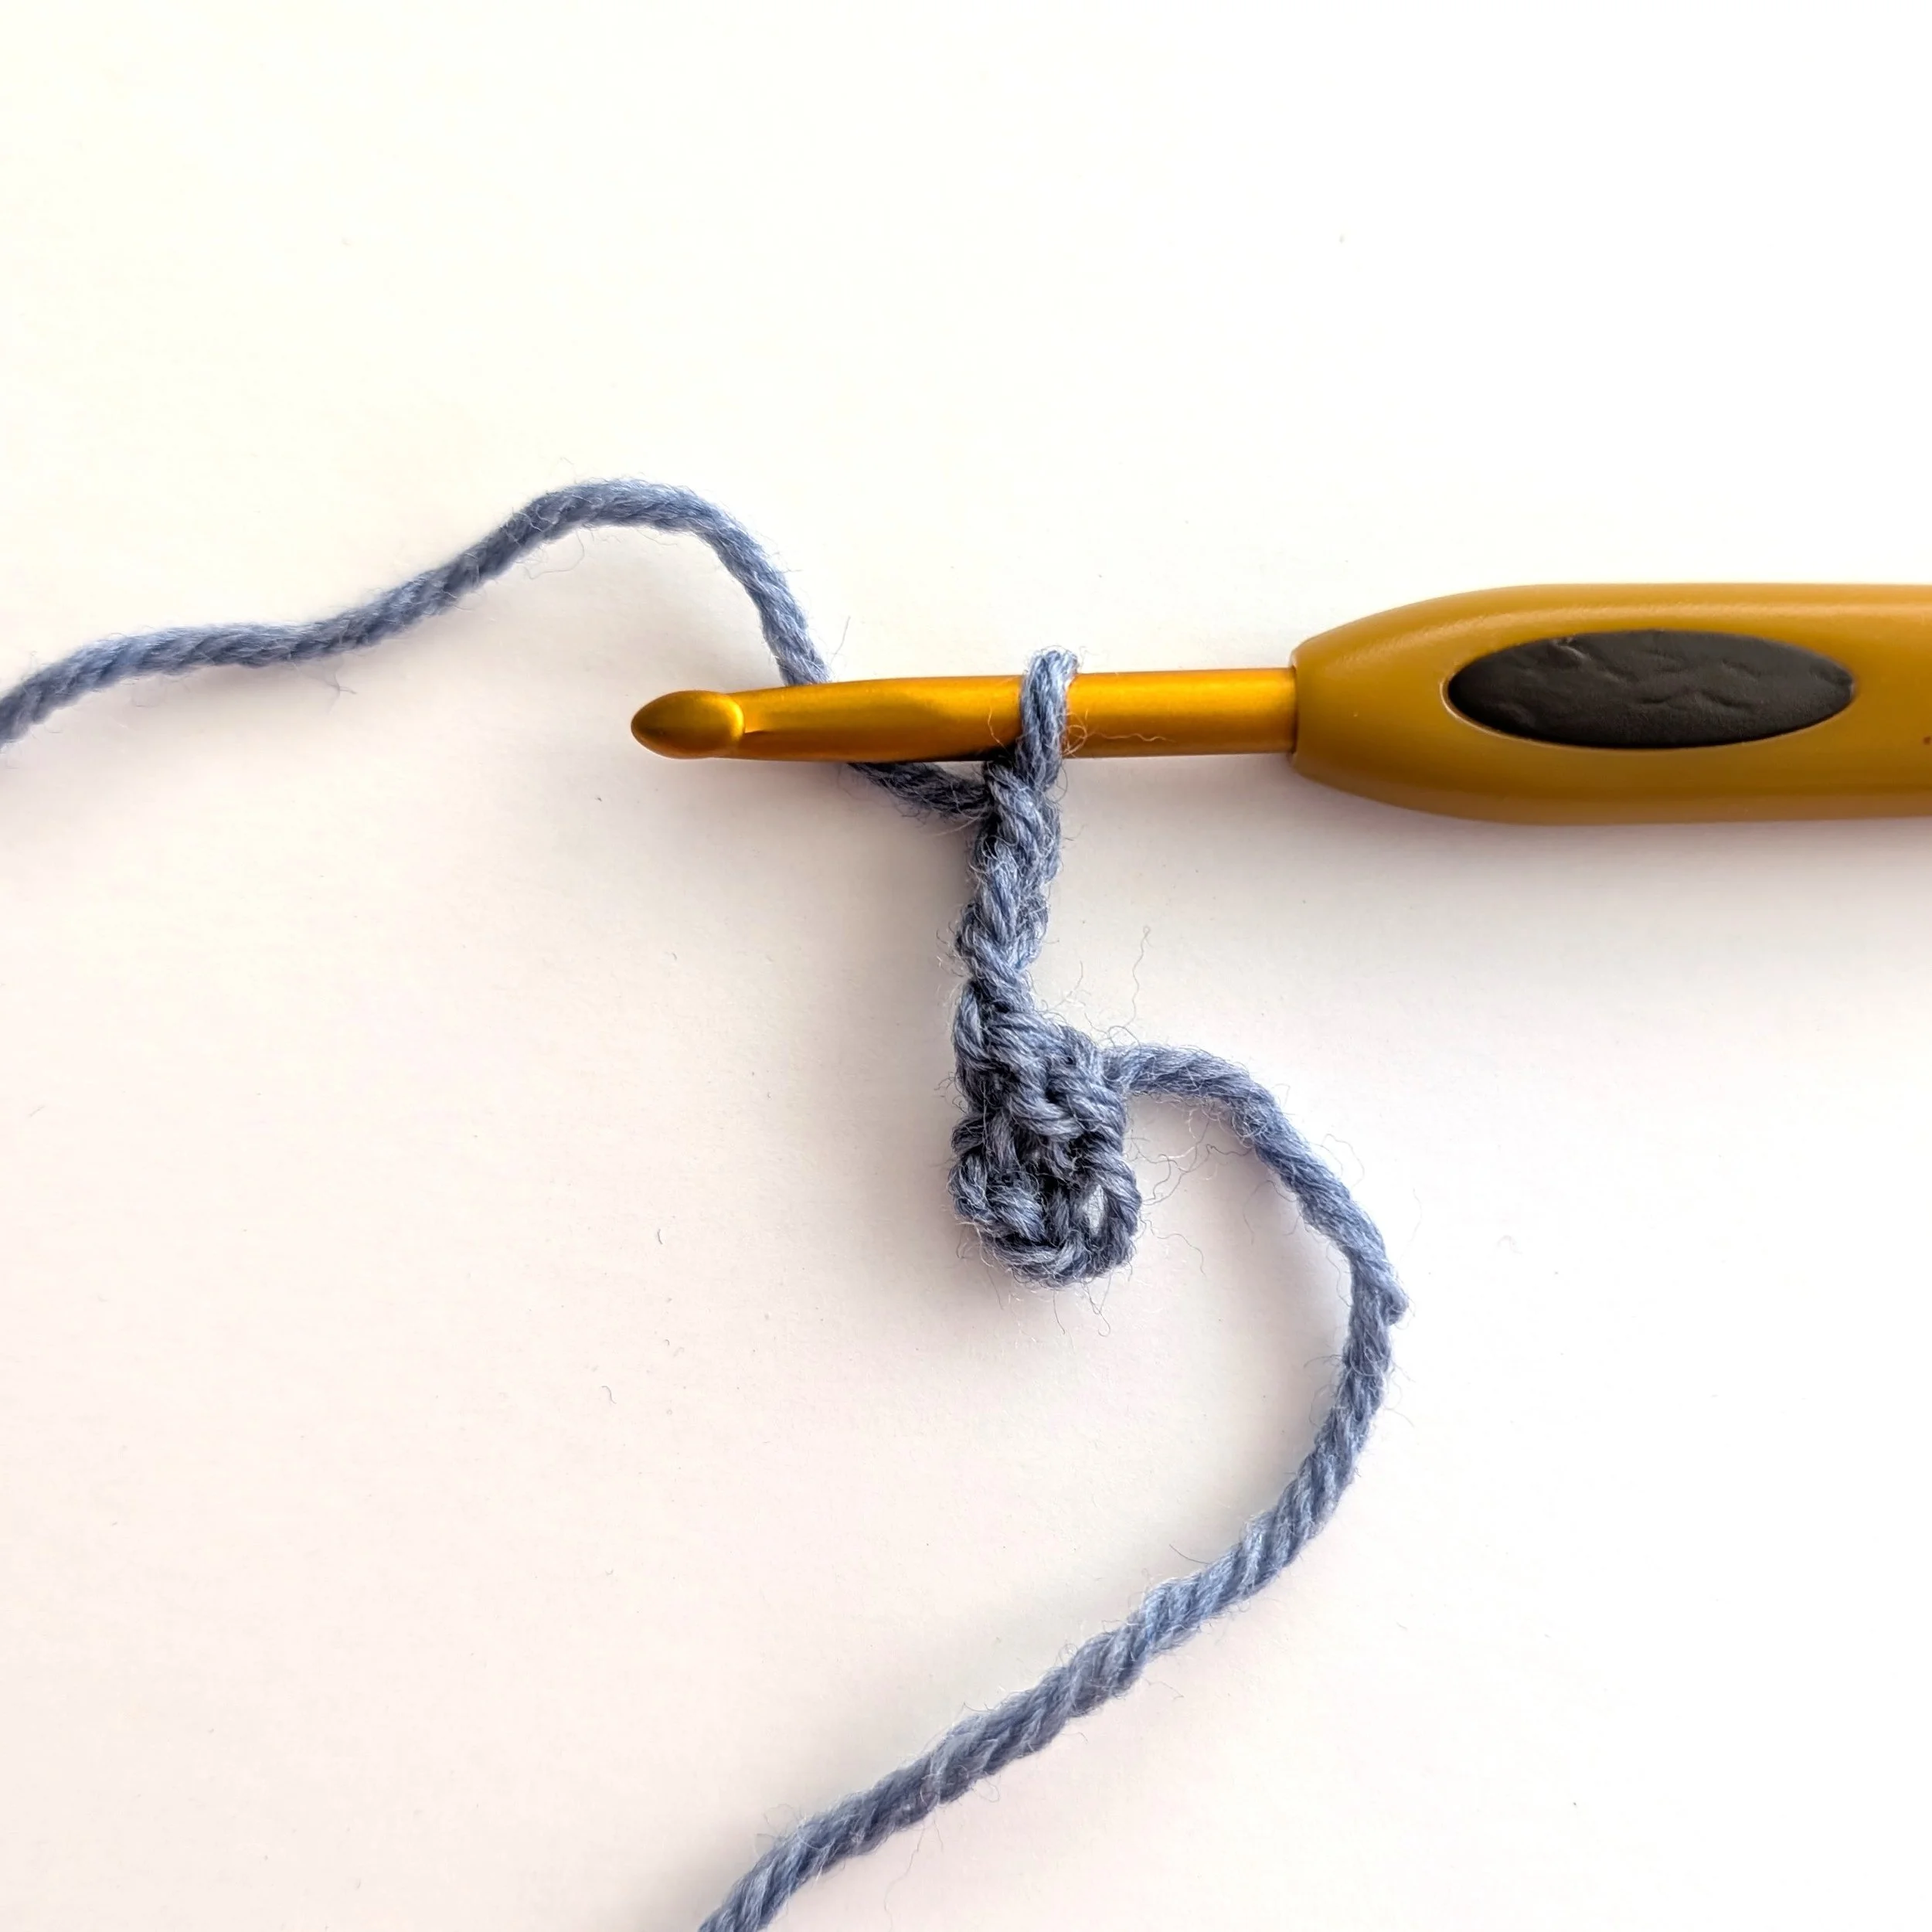
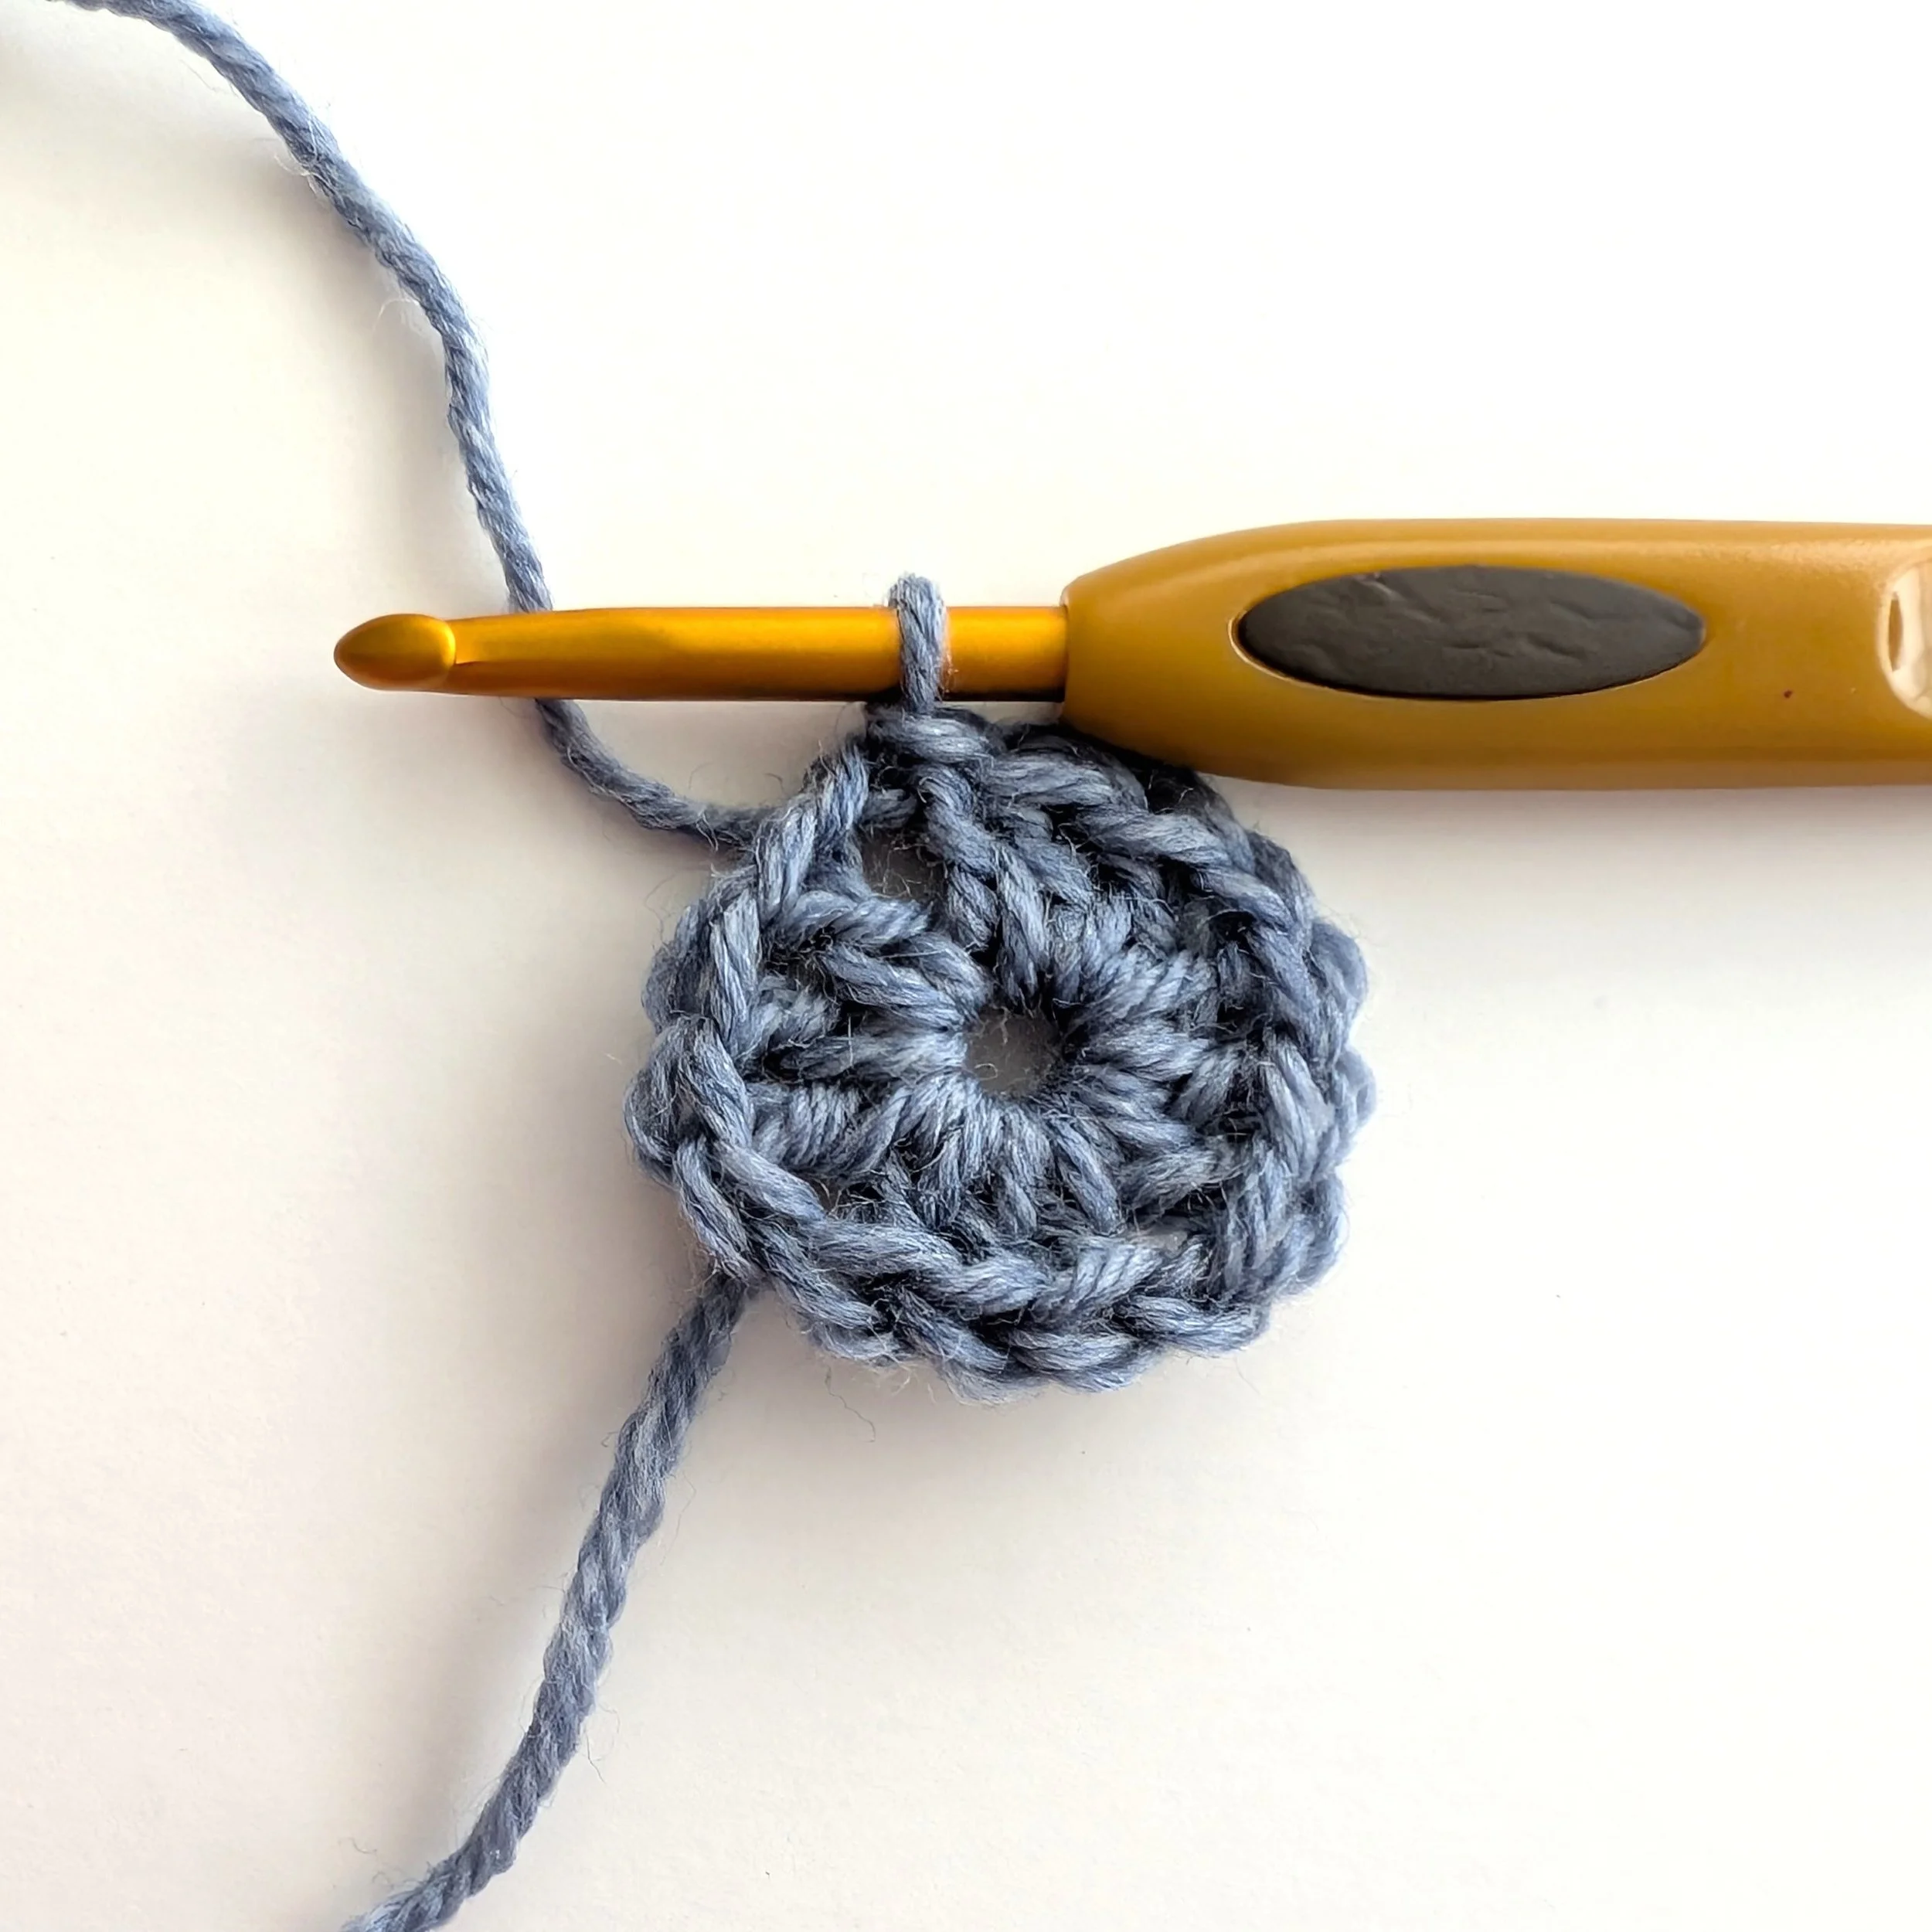
Now, you will begin creating the first square layer around the loop. To begin this, you need to create “height”. Ch 3 (chain 3 sts) to create the initial height for this layer. This ch 3 will count as an equivalent of 1 of your double crochet sts (DC is the abbreviation for double crochet)
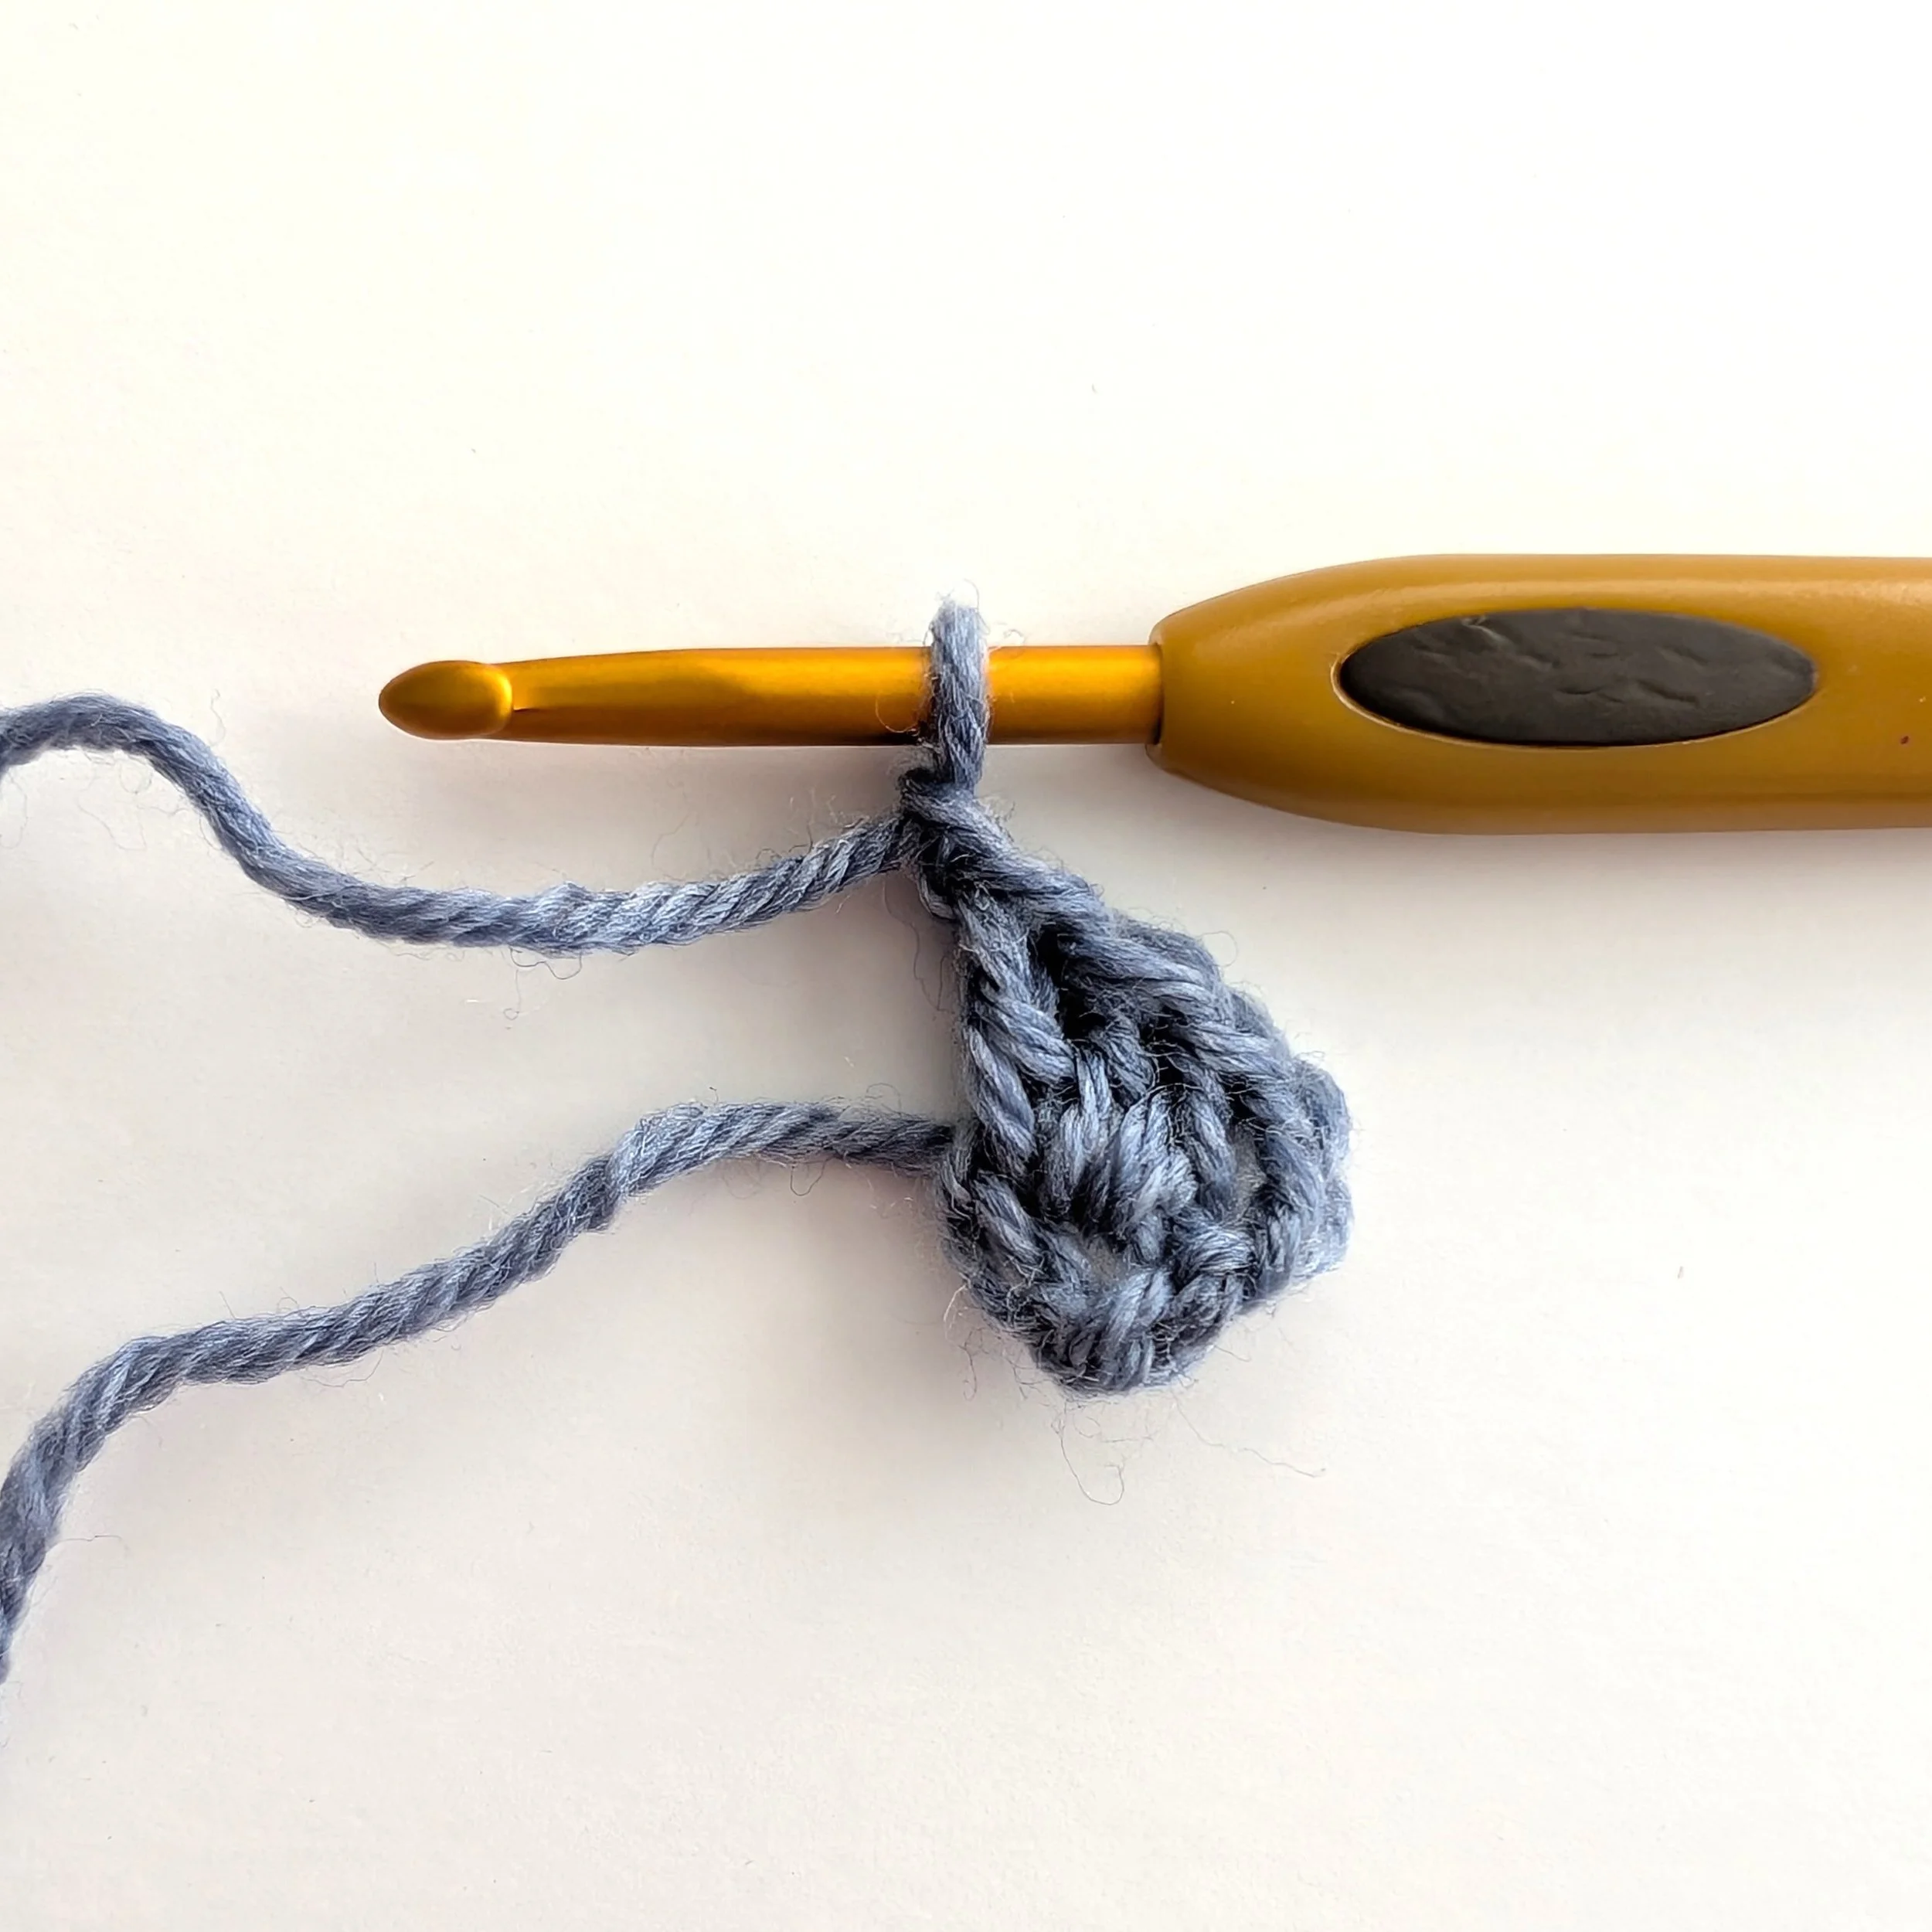
The basic Granny Square is comprised of clusters of 3 DC sts separated by ch sts. Work 3 DC sts into the loop space, then ch 1 at the end. Note: if you find you cannot easily see the spaces between your cluster of 3 DC, then work 2 ch sts between each cluster instead.
As a heads up, you can decide to count your ch 3 as EITHER the very first DC sts OR the very last DC st for this first row. For various reasons, I like to make it the last st. So, these directions are for that case.
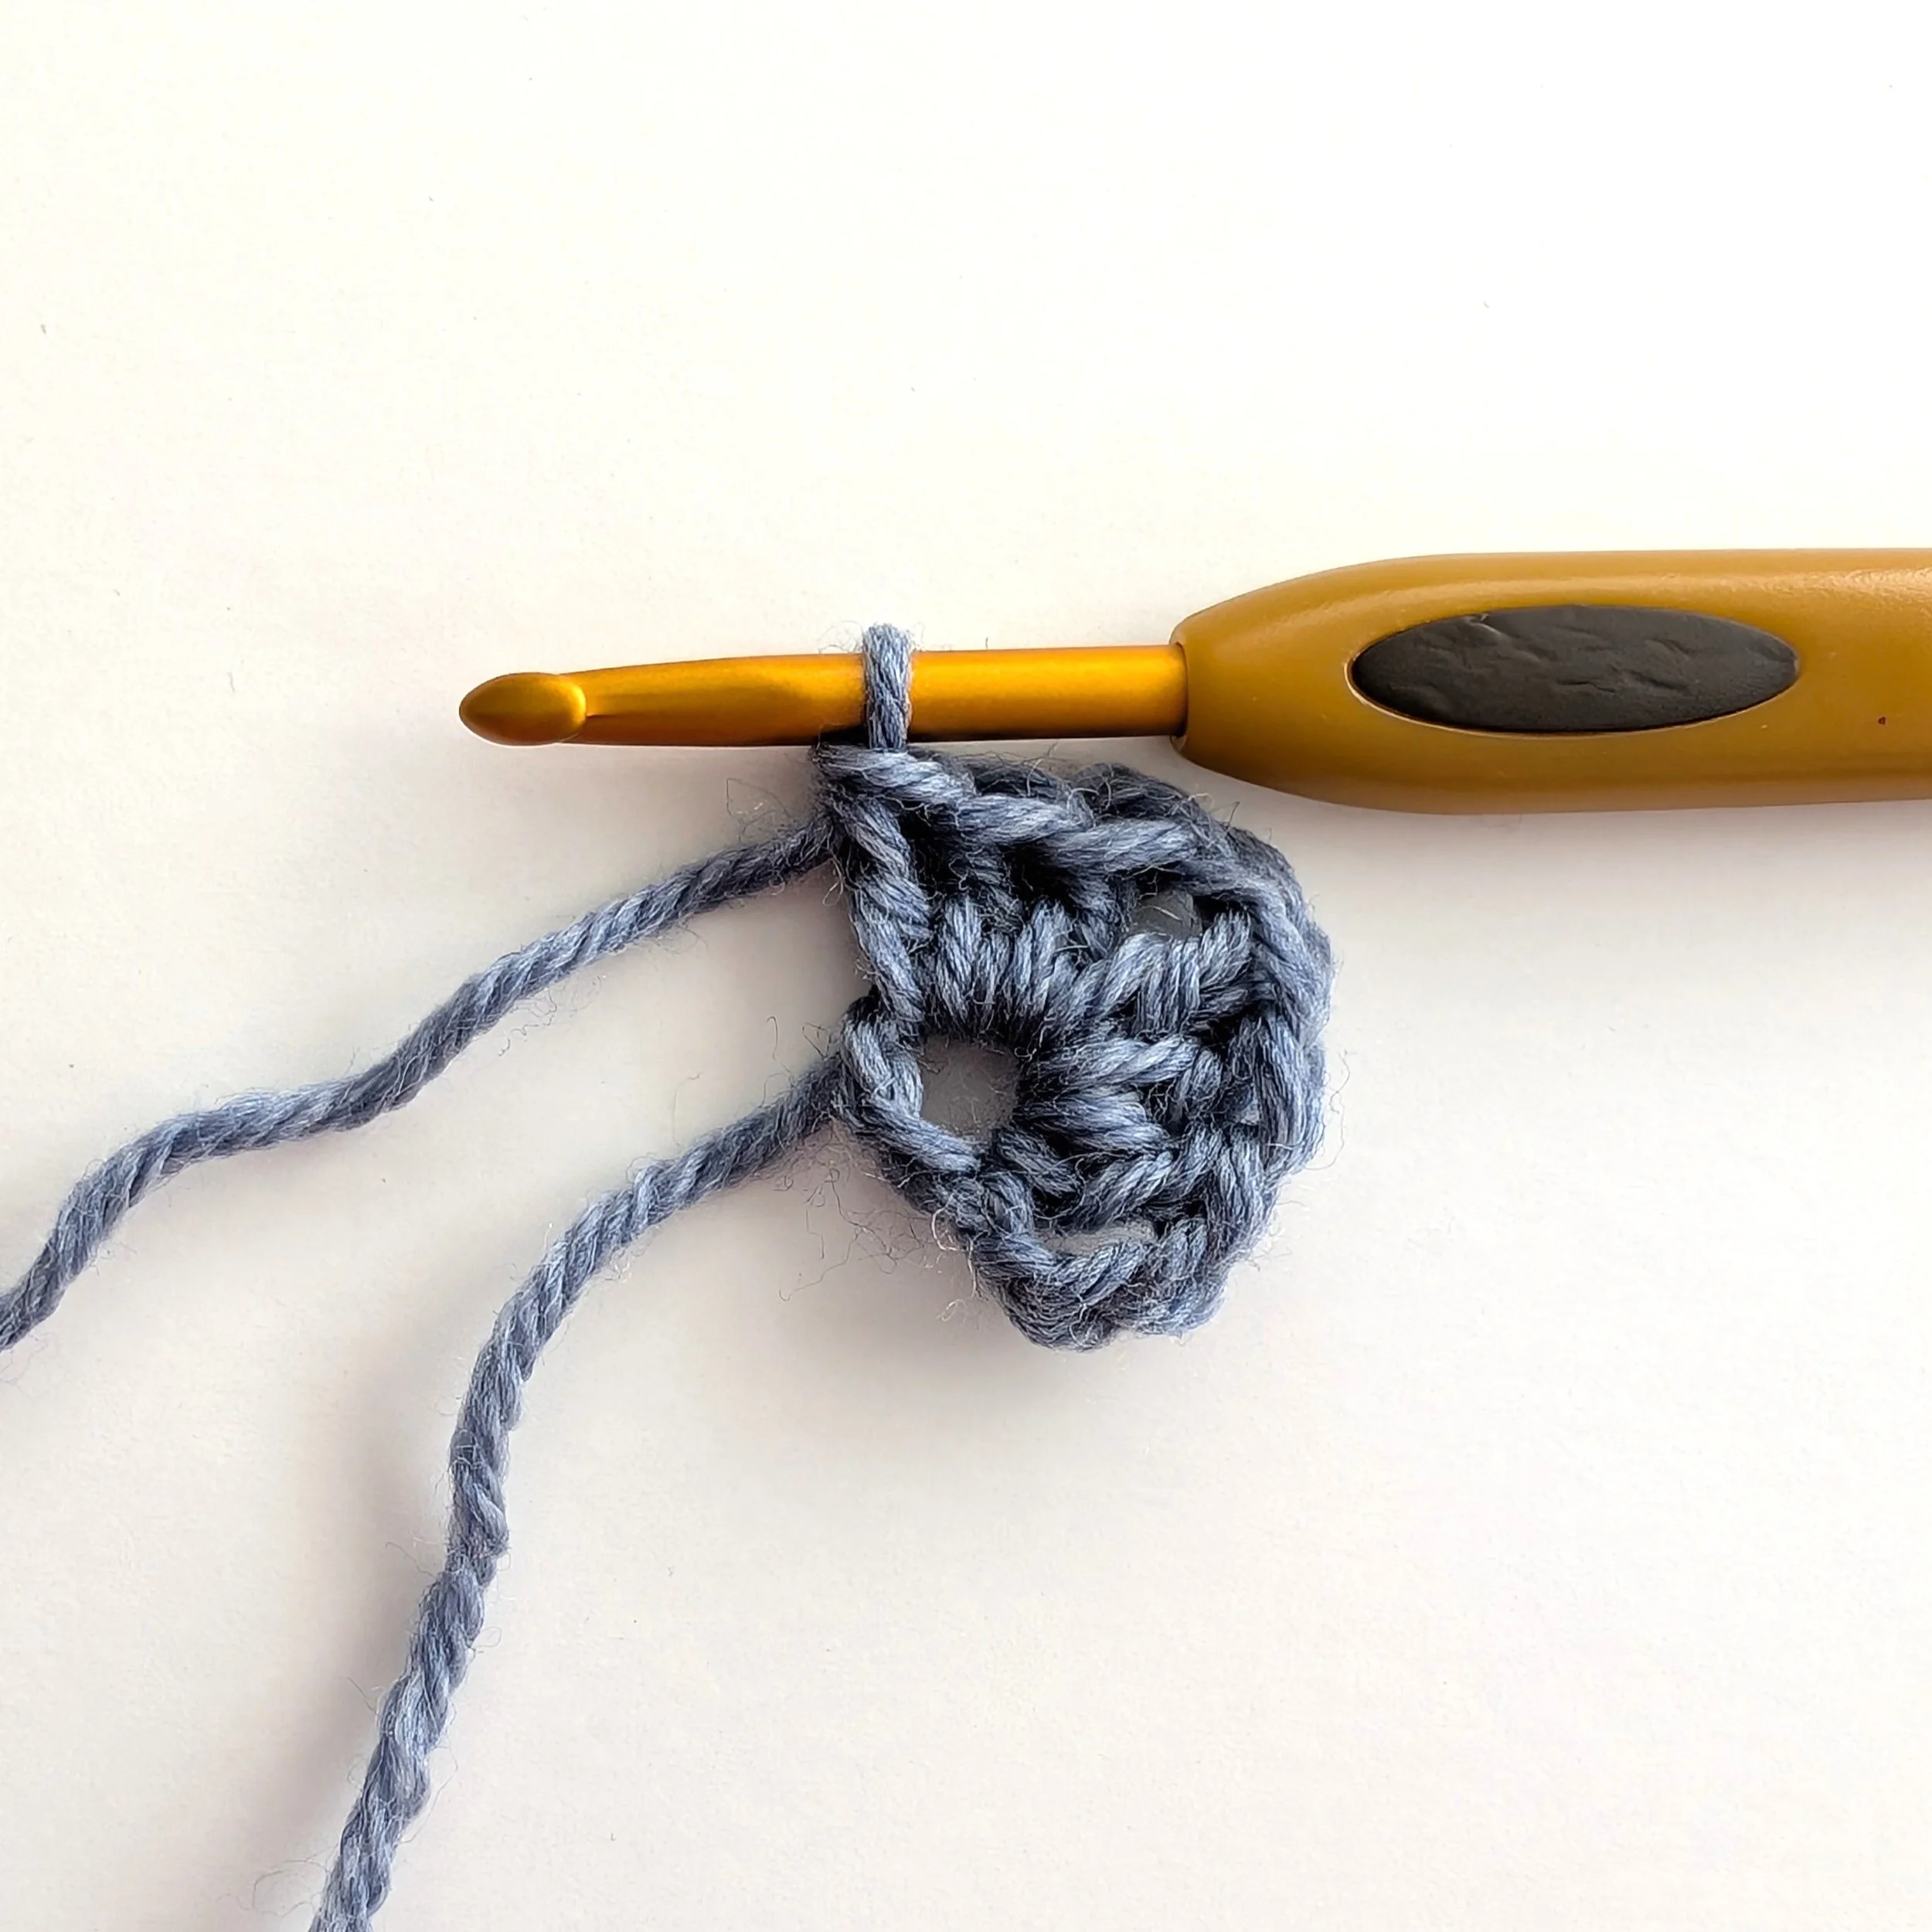
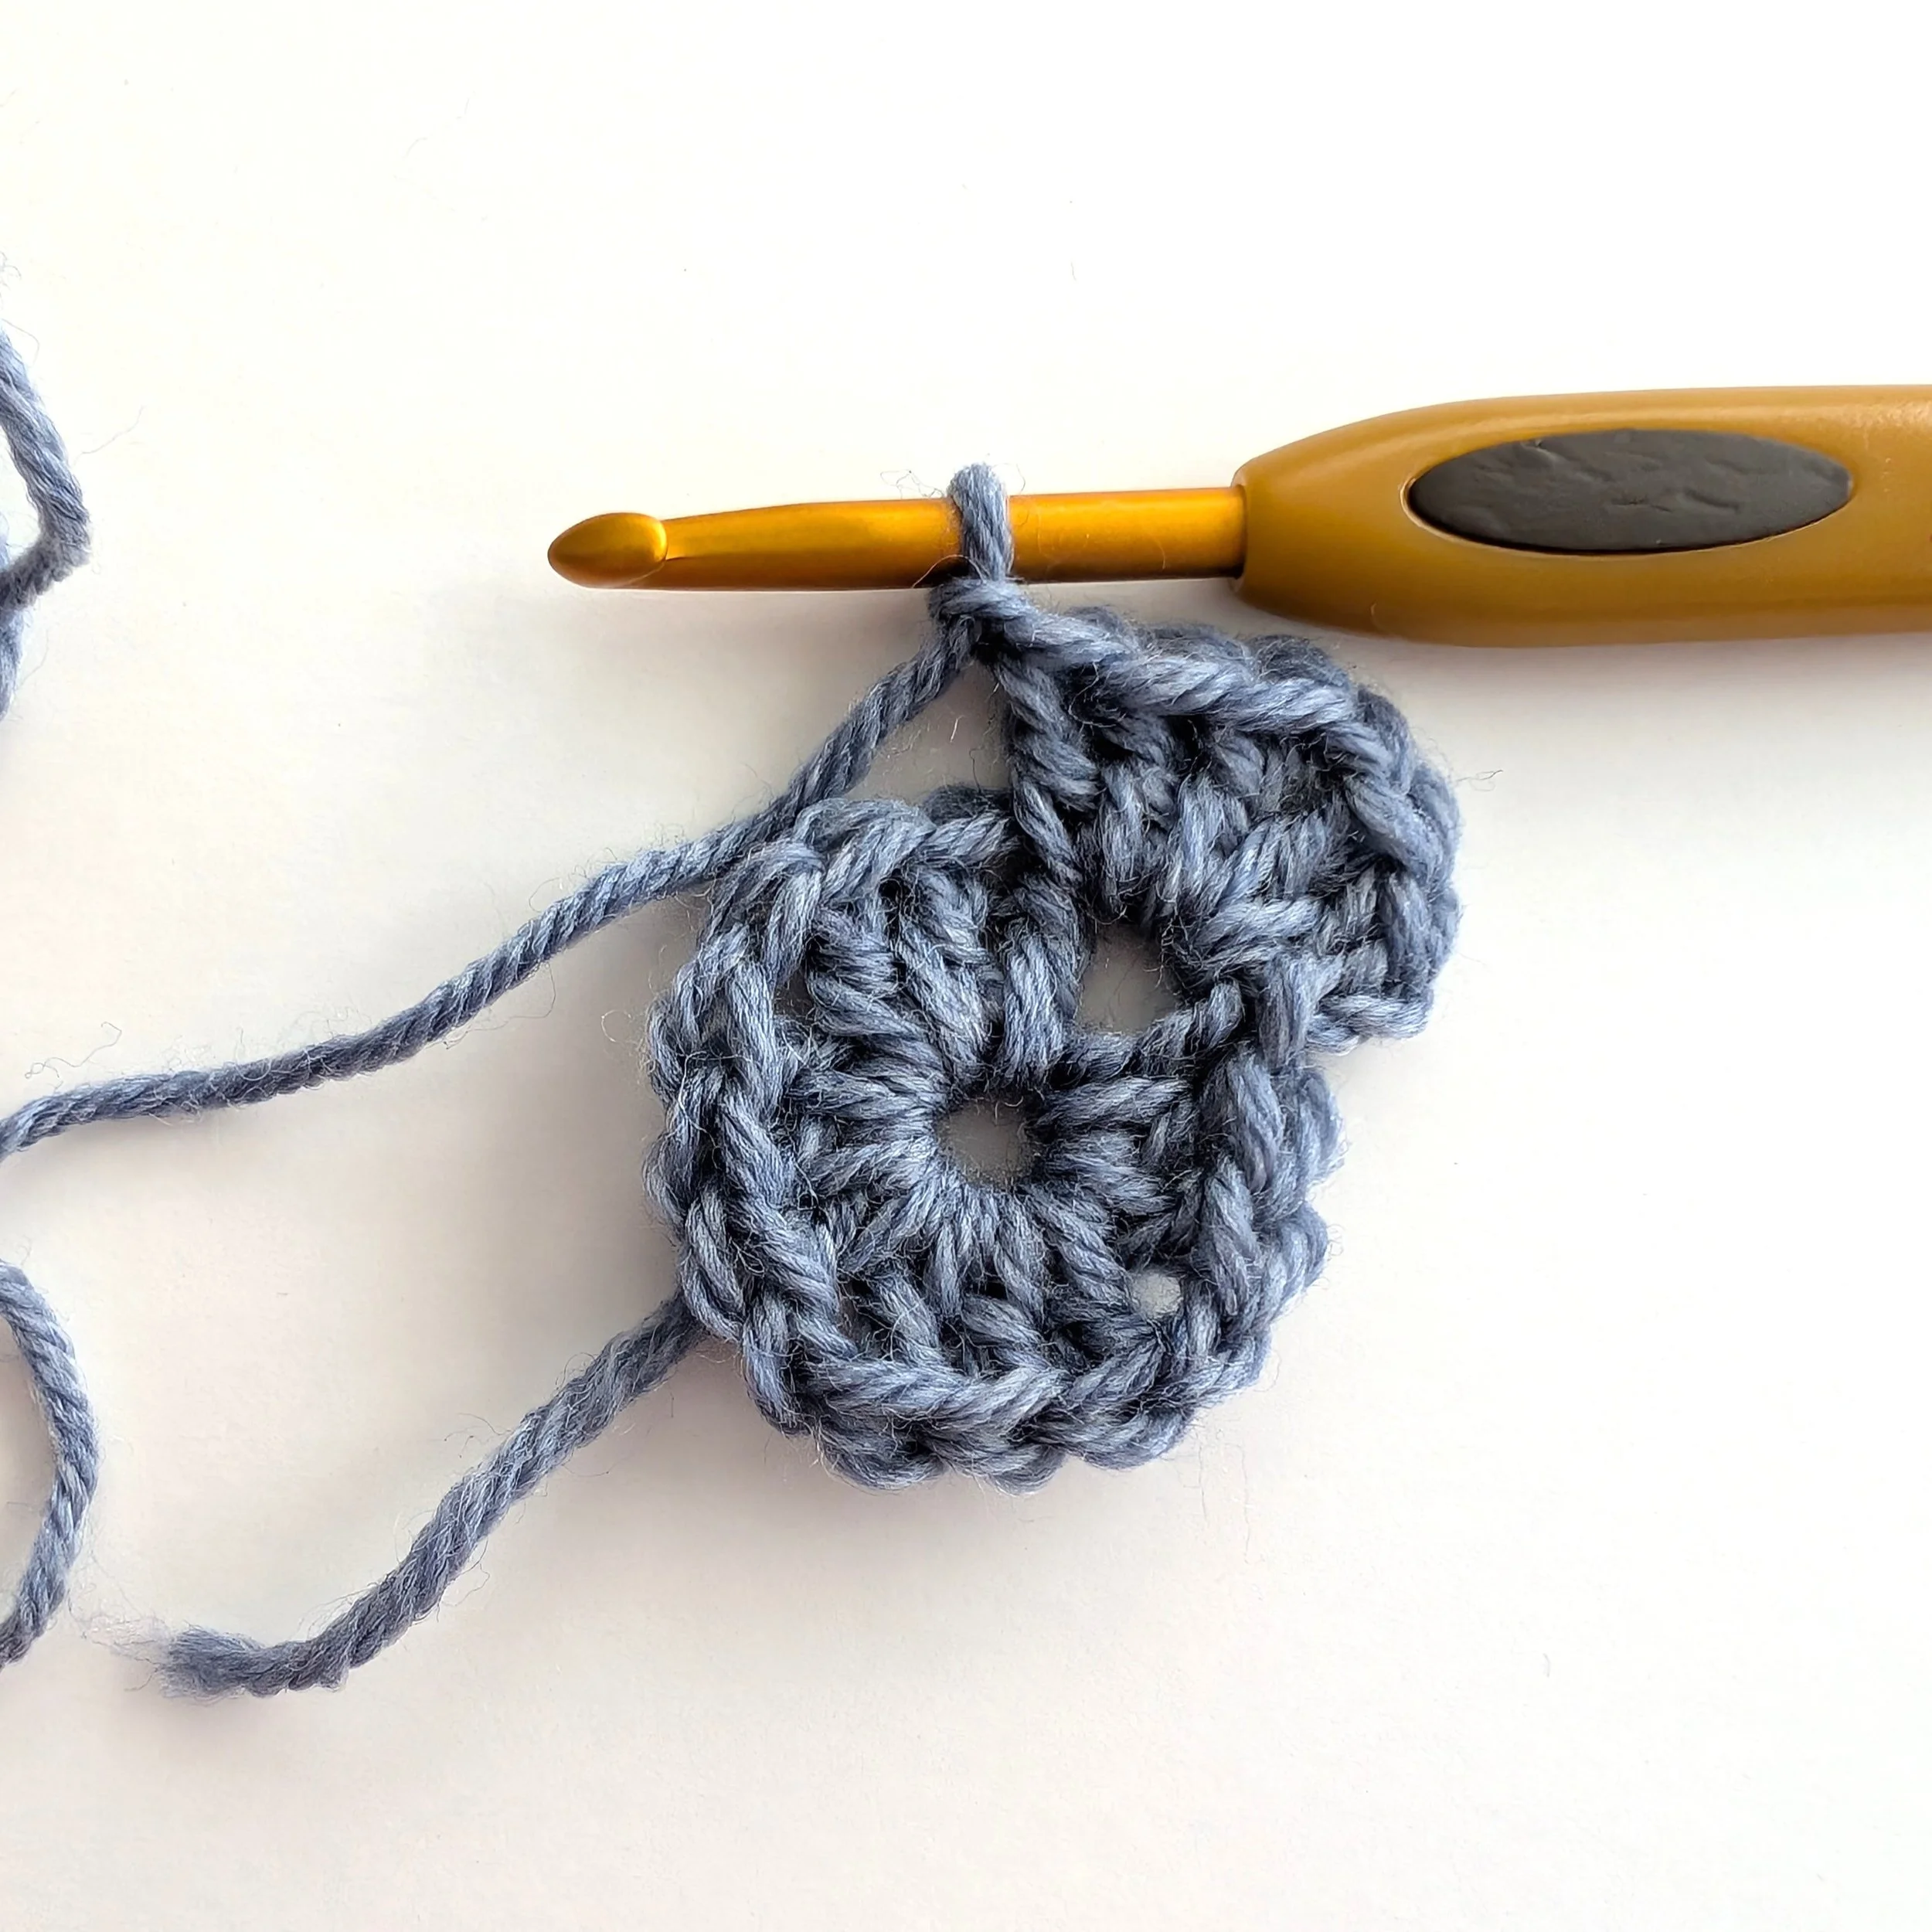
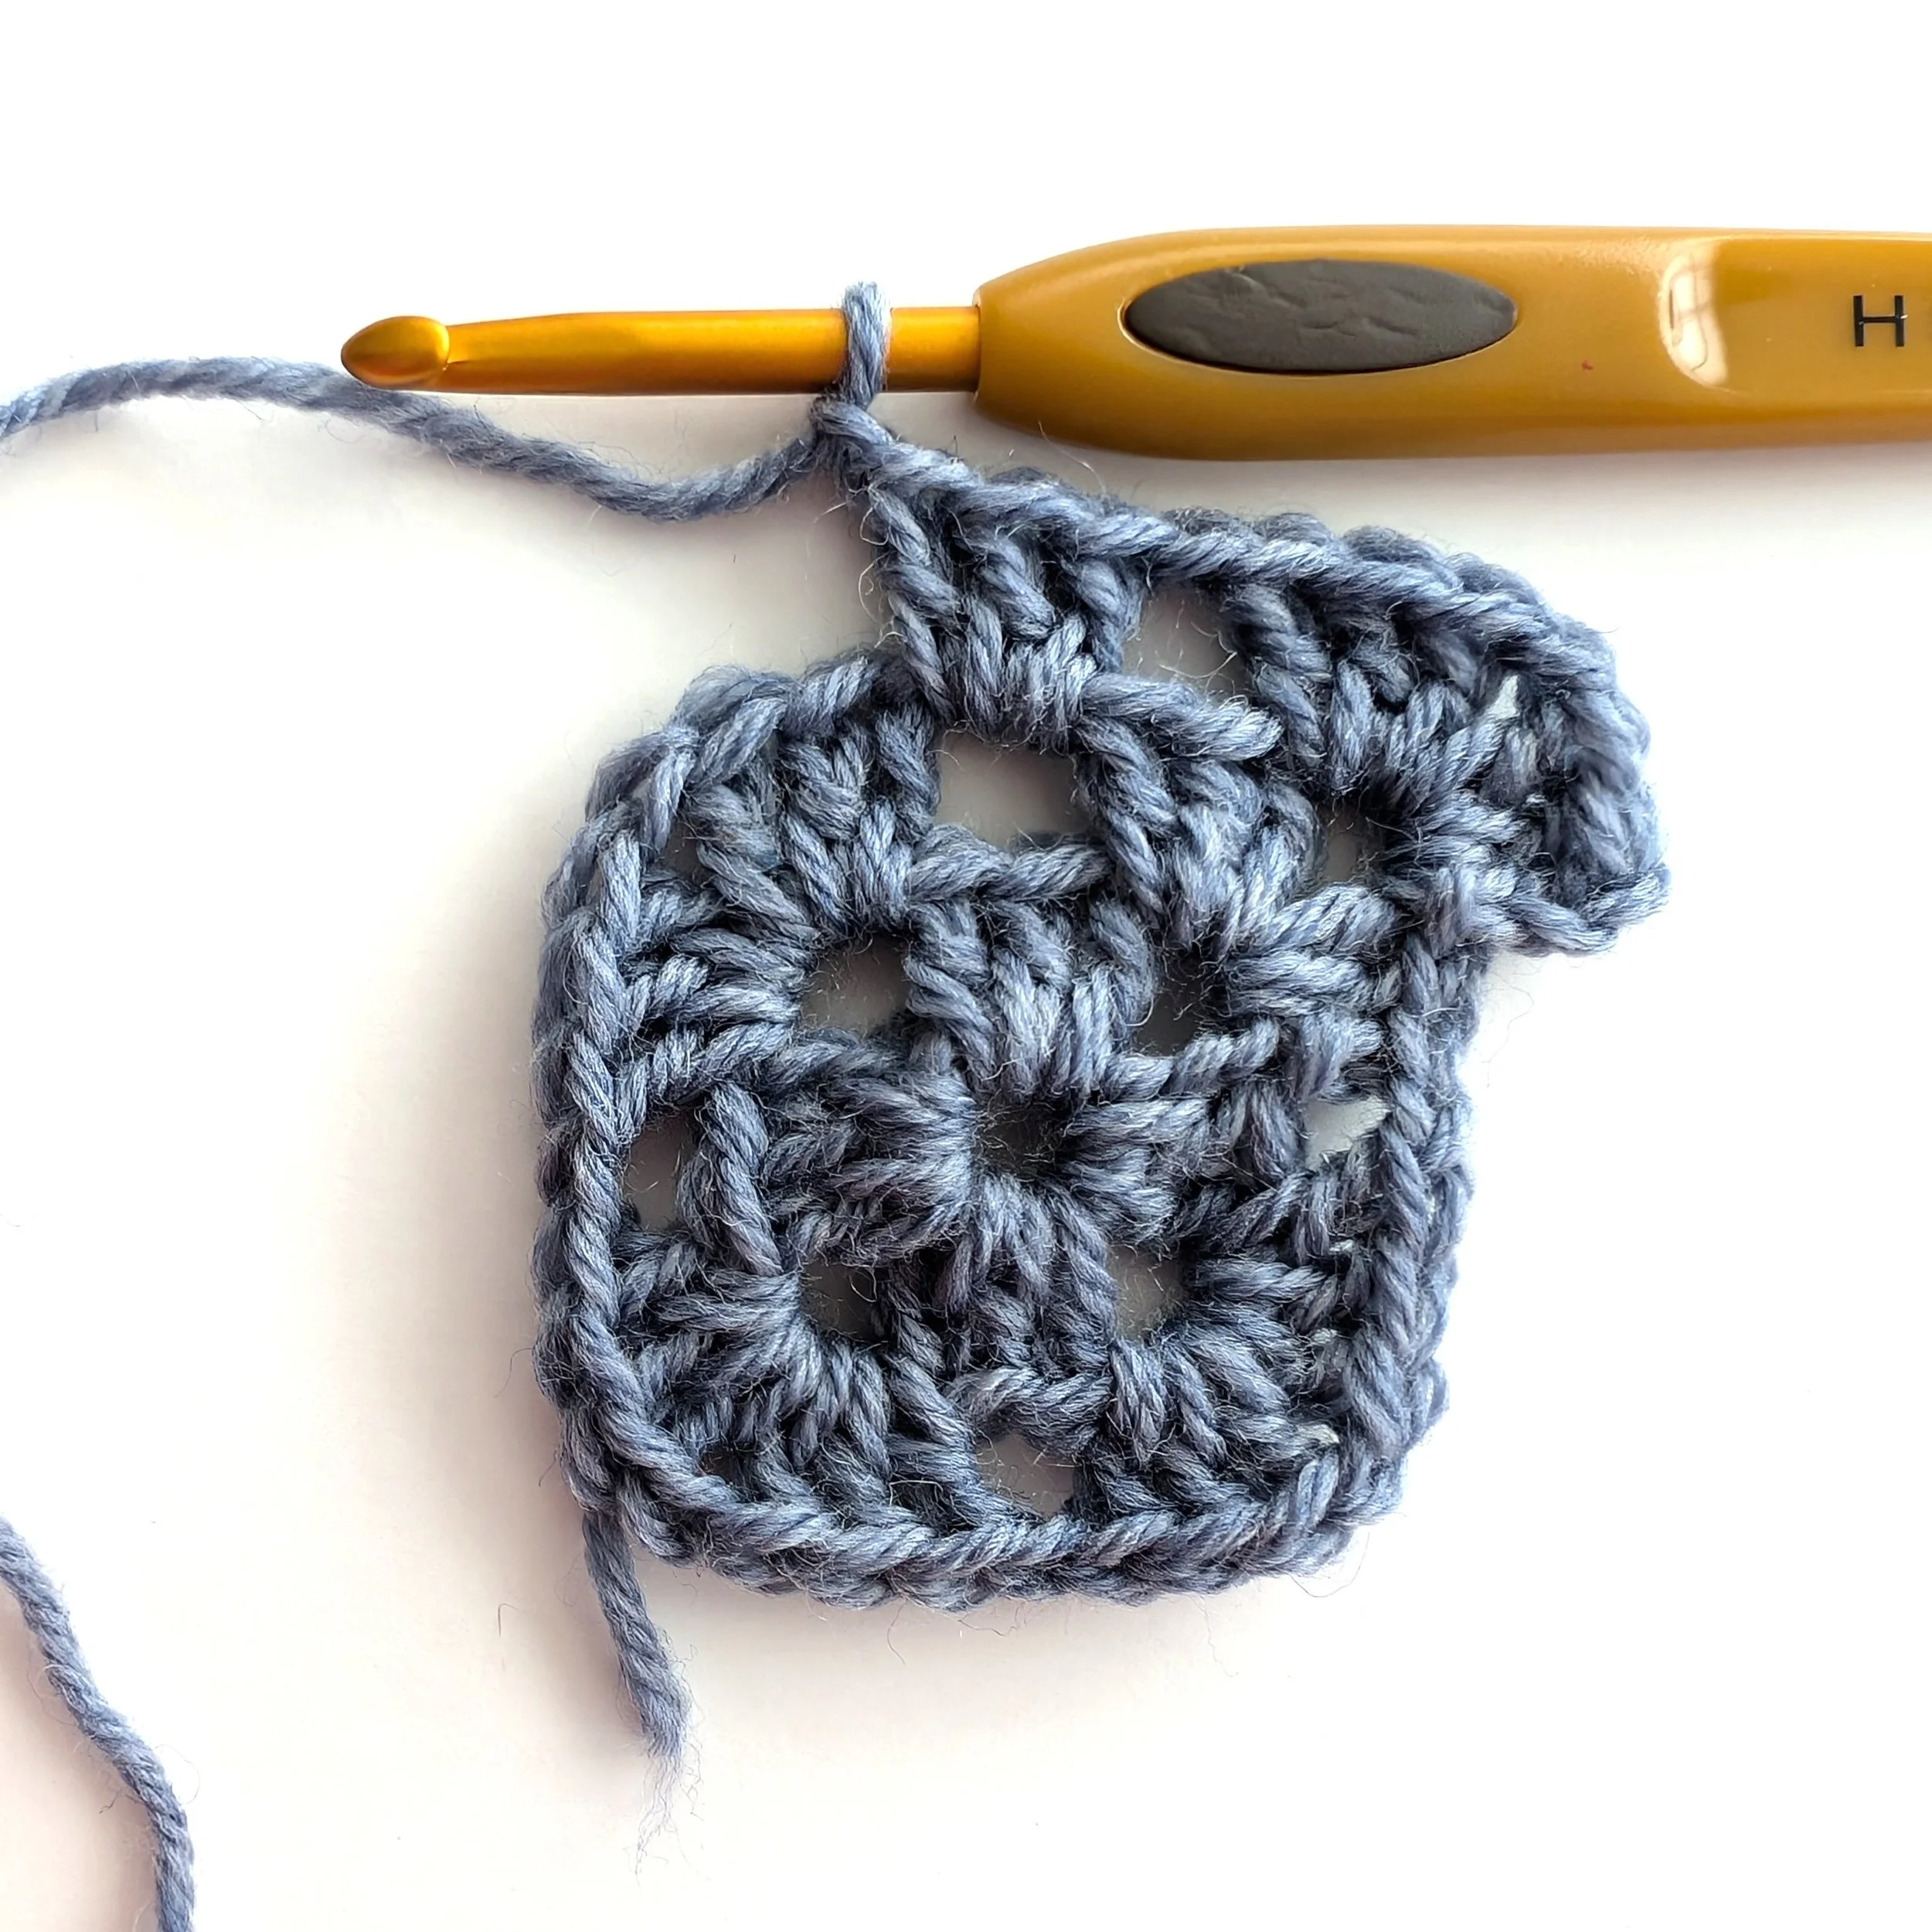
Then work the next set of 3 DC stitches, and chain 1. (I took this picture before I had ch 1 and am now realizing that! So sorry about that!) You can see how the cluster of 3, ch space, then second cluster of 3 create a corner. At this point, we need to make the next corner and then finish up the last set of 3.
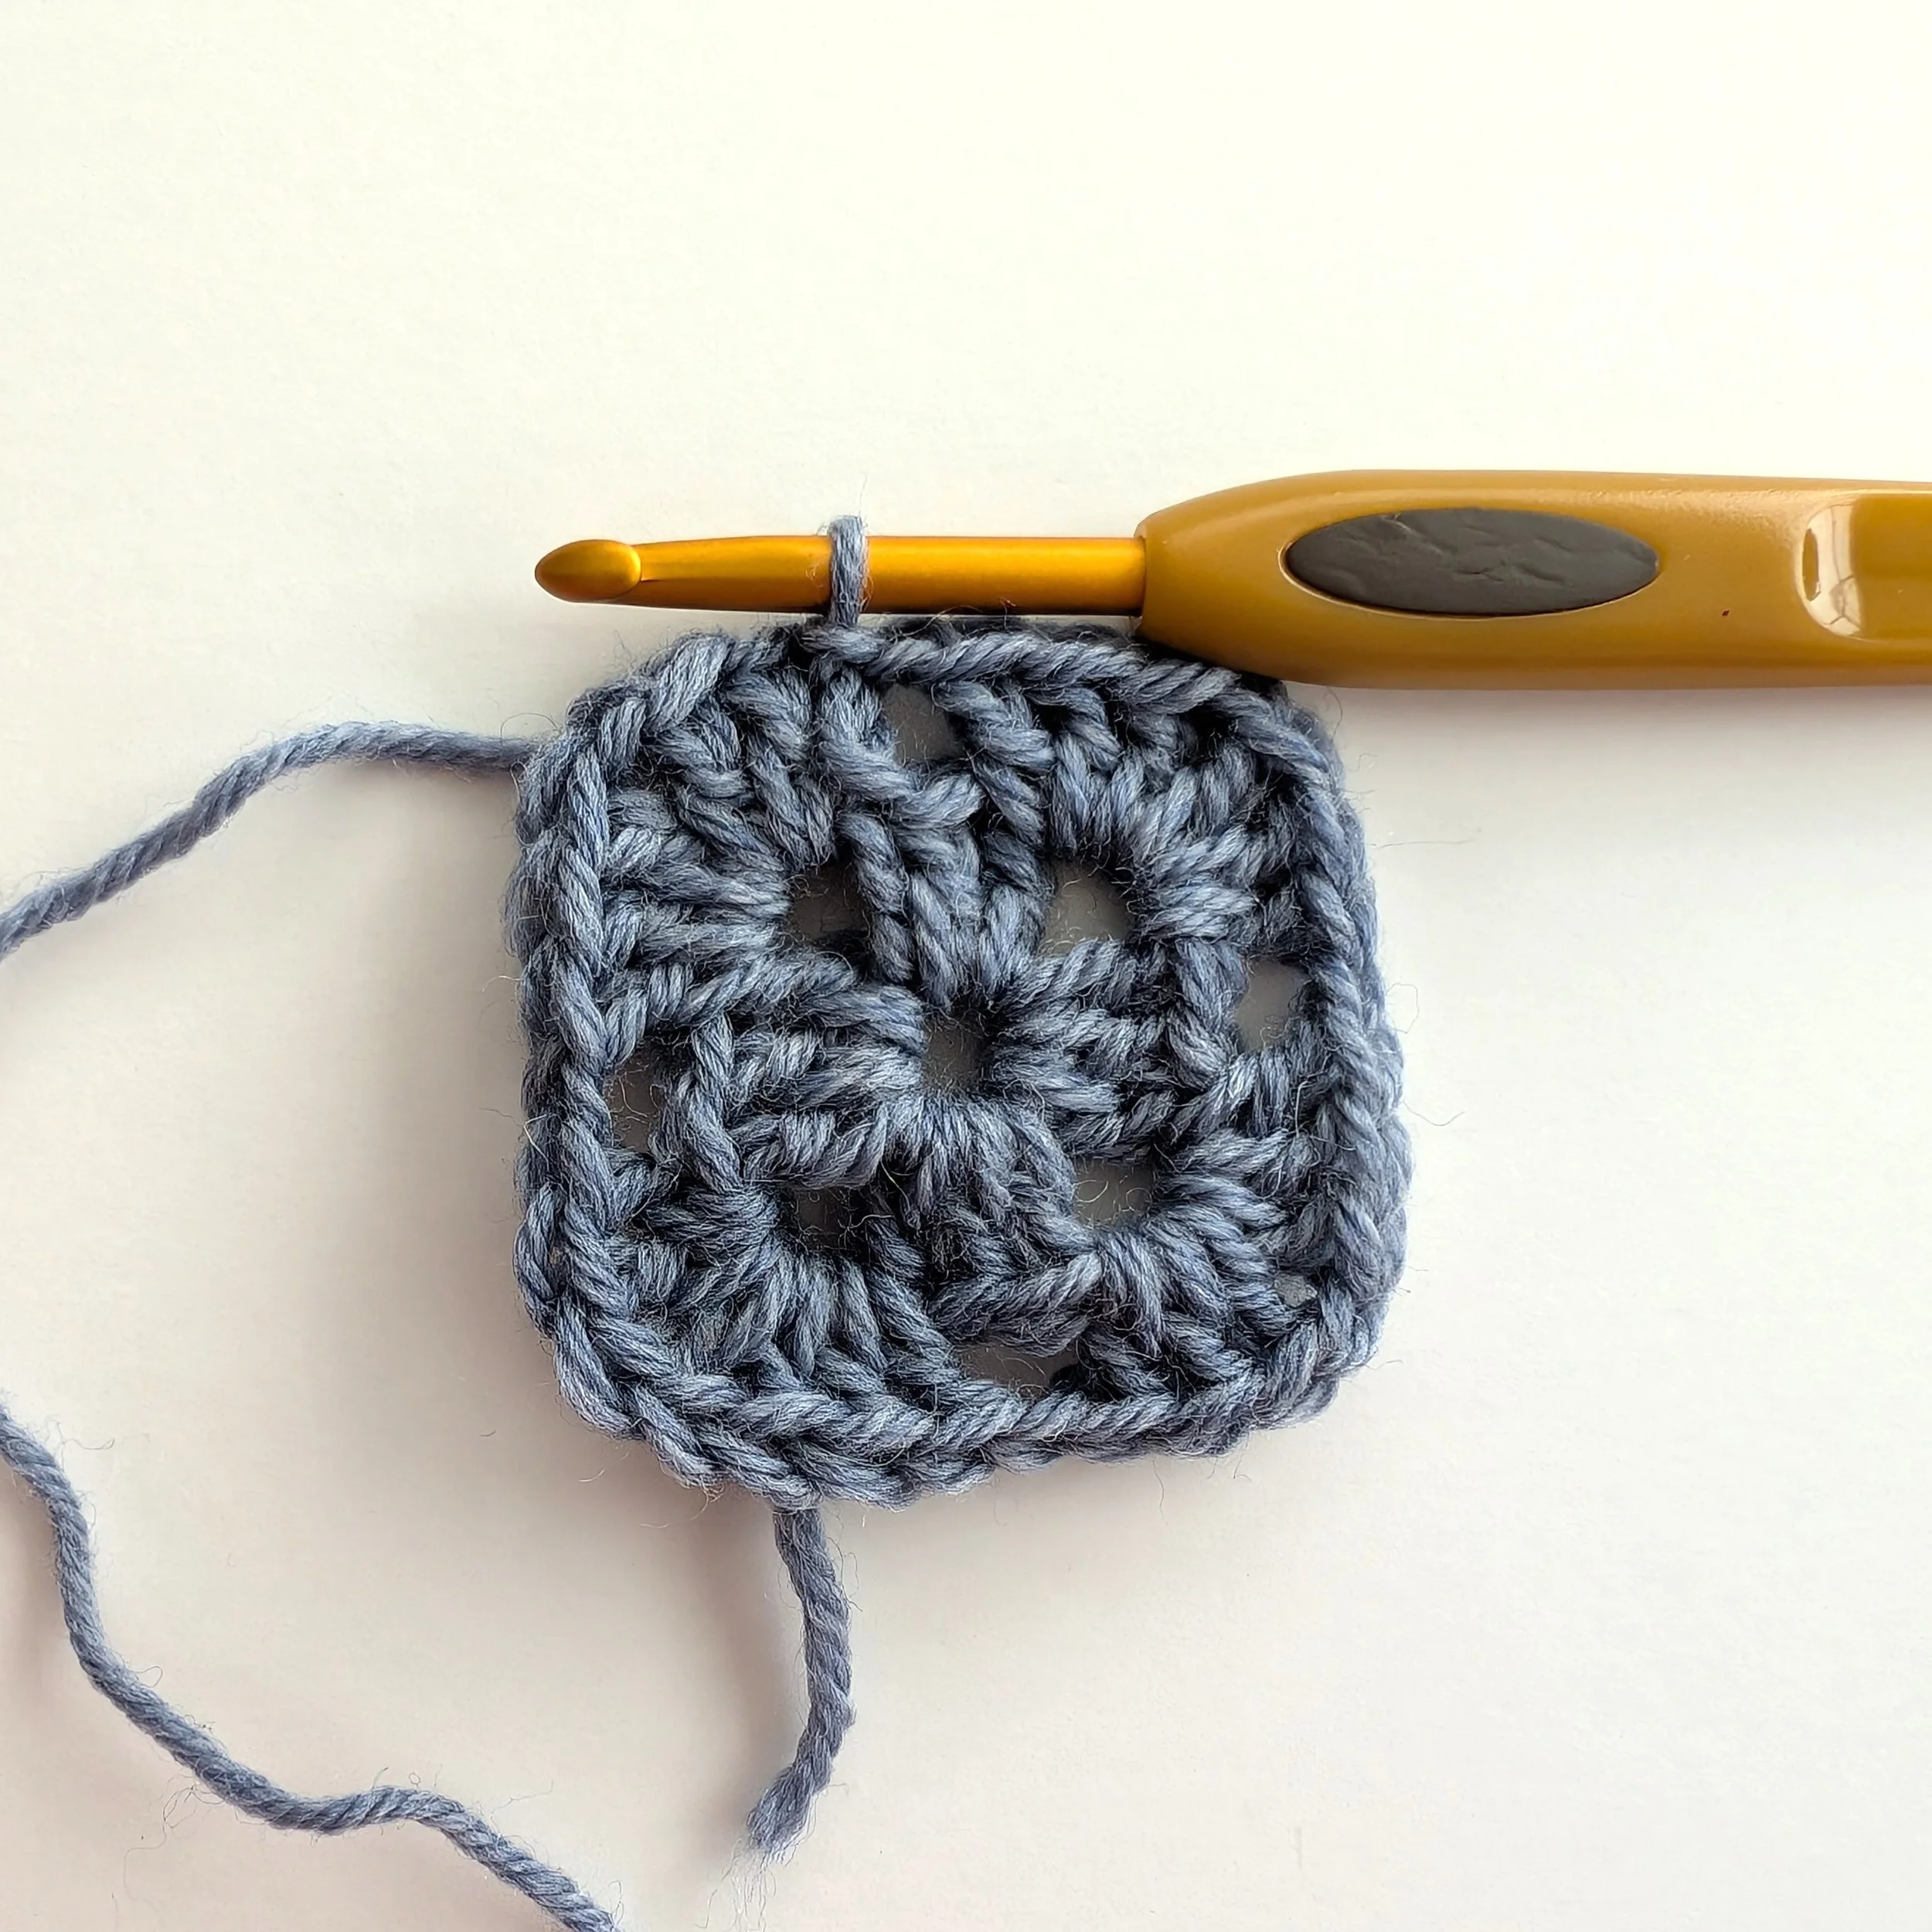
In the above picture, starting with the top left area (the stitches are pointing to the left), we have the ch 3, 3 DC cluster, ch 1, 3 DC cluster (pointing down), ch 1, 3 DC cluster (pointing right), ch 1, then 2 DC cluster (pointing up). Again, the reason we only make 2 DC stitches for this last cluster is because we are going to join the ch 3 to these 2 DC stitches to create a cluster of 3 sts.
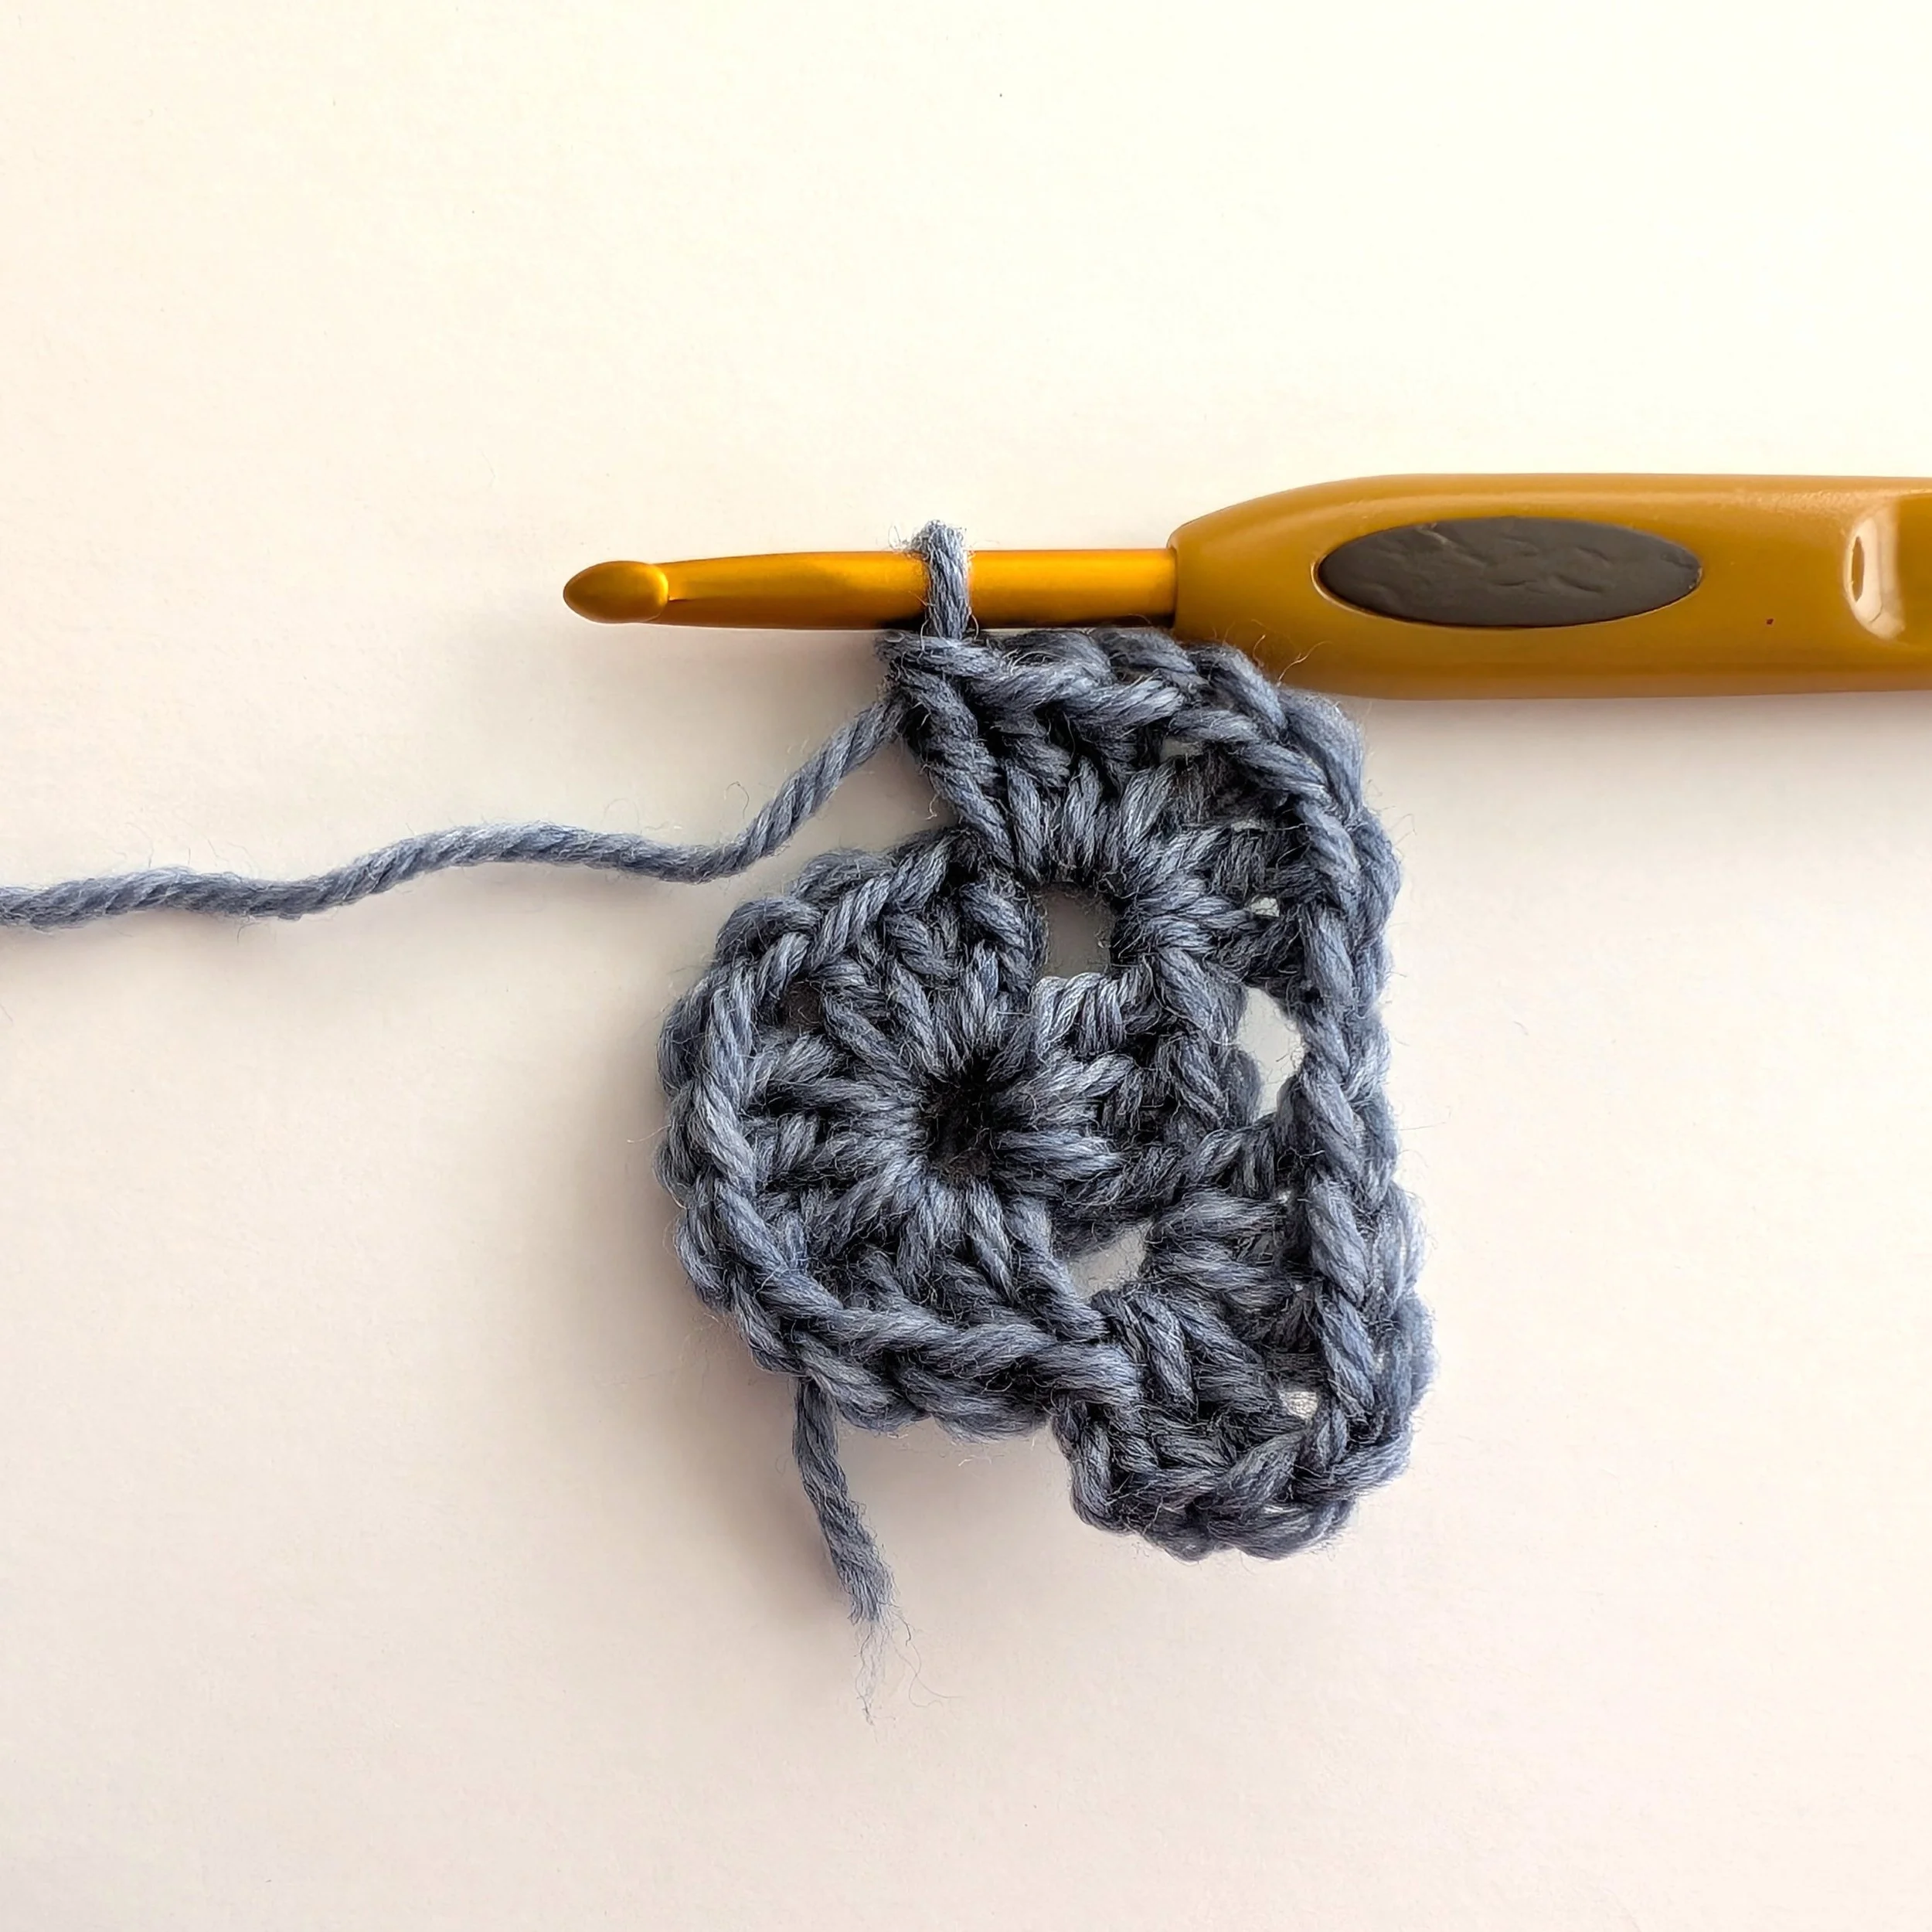
In the above picture, I have inserted the hook into the 3rd ch of the ch 3 stitch. Alternately, you can insert your hook into the space between the ch 3 and the following DC stitch.
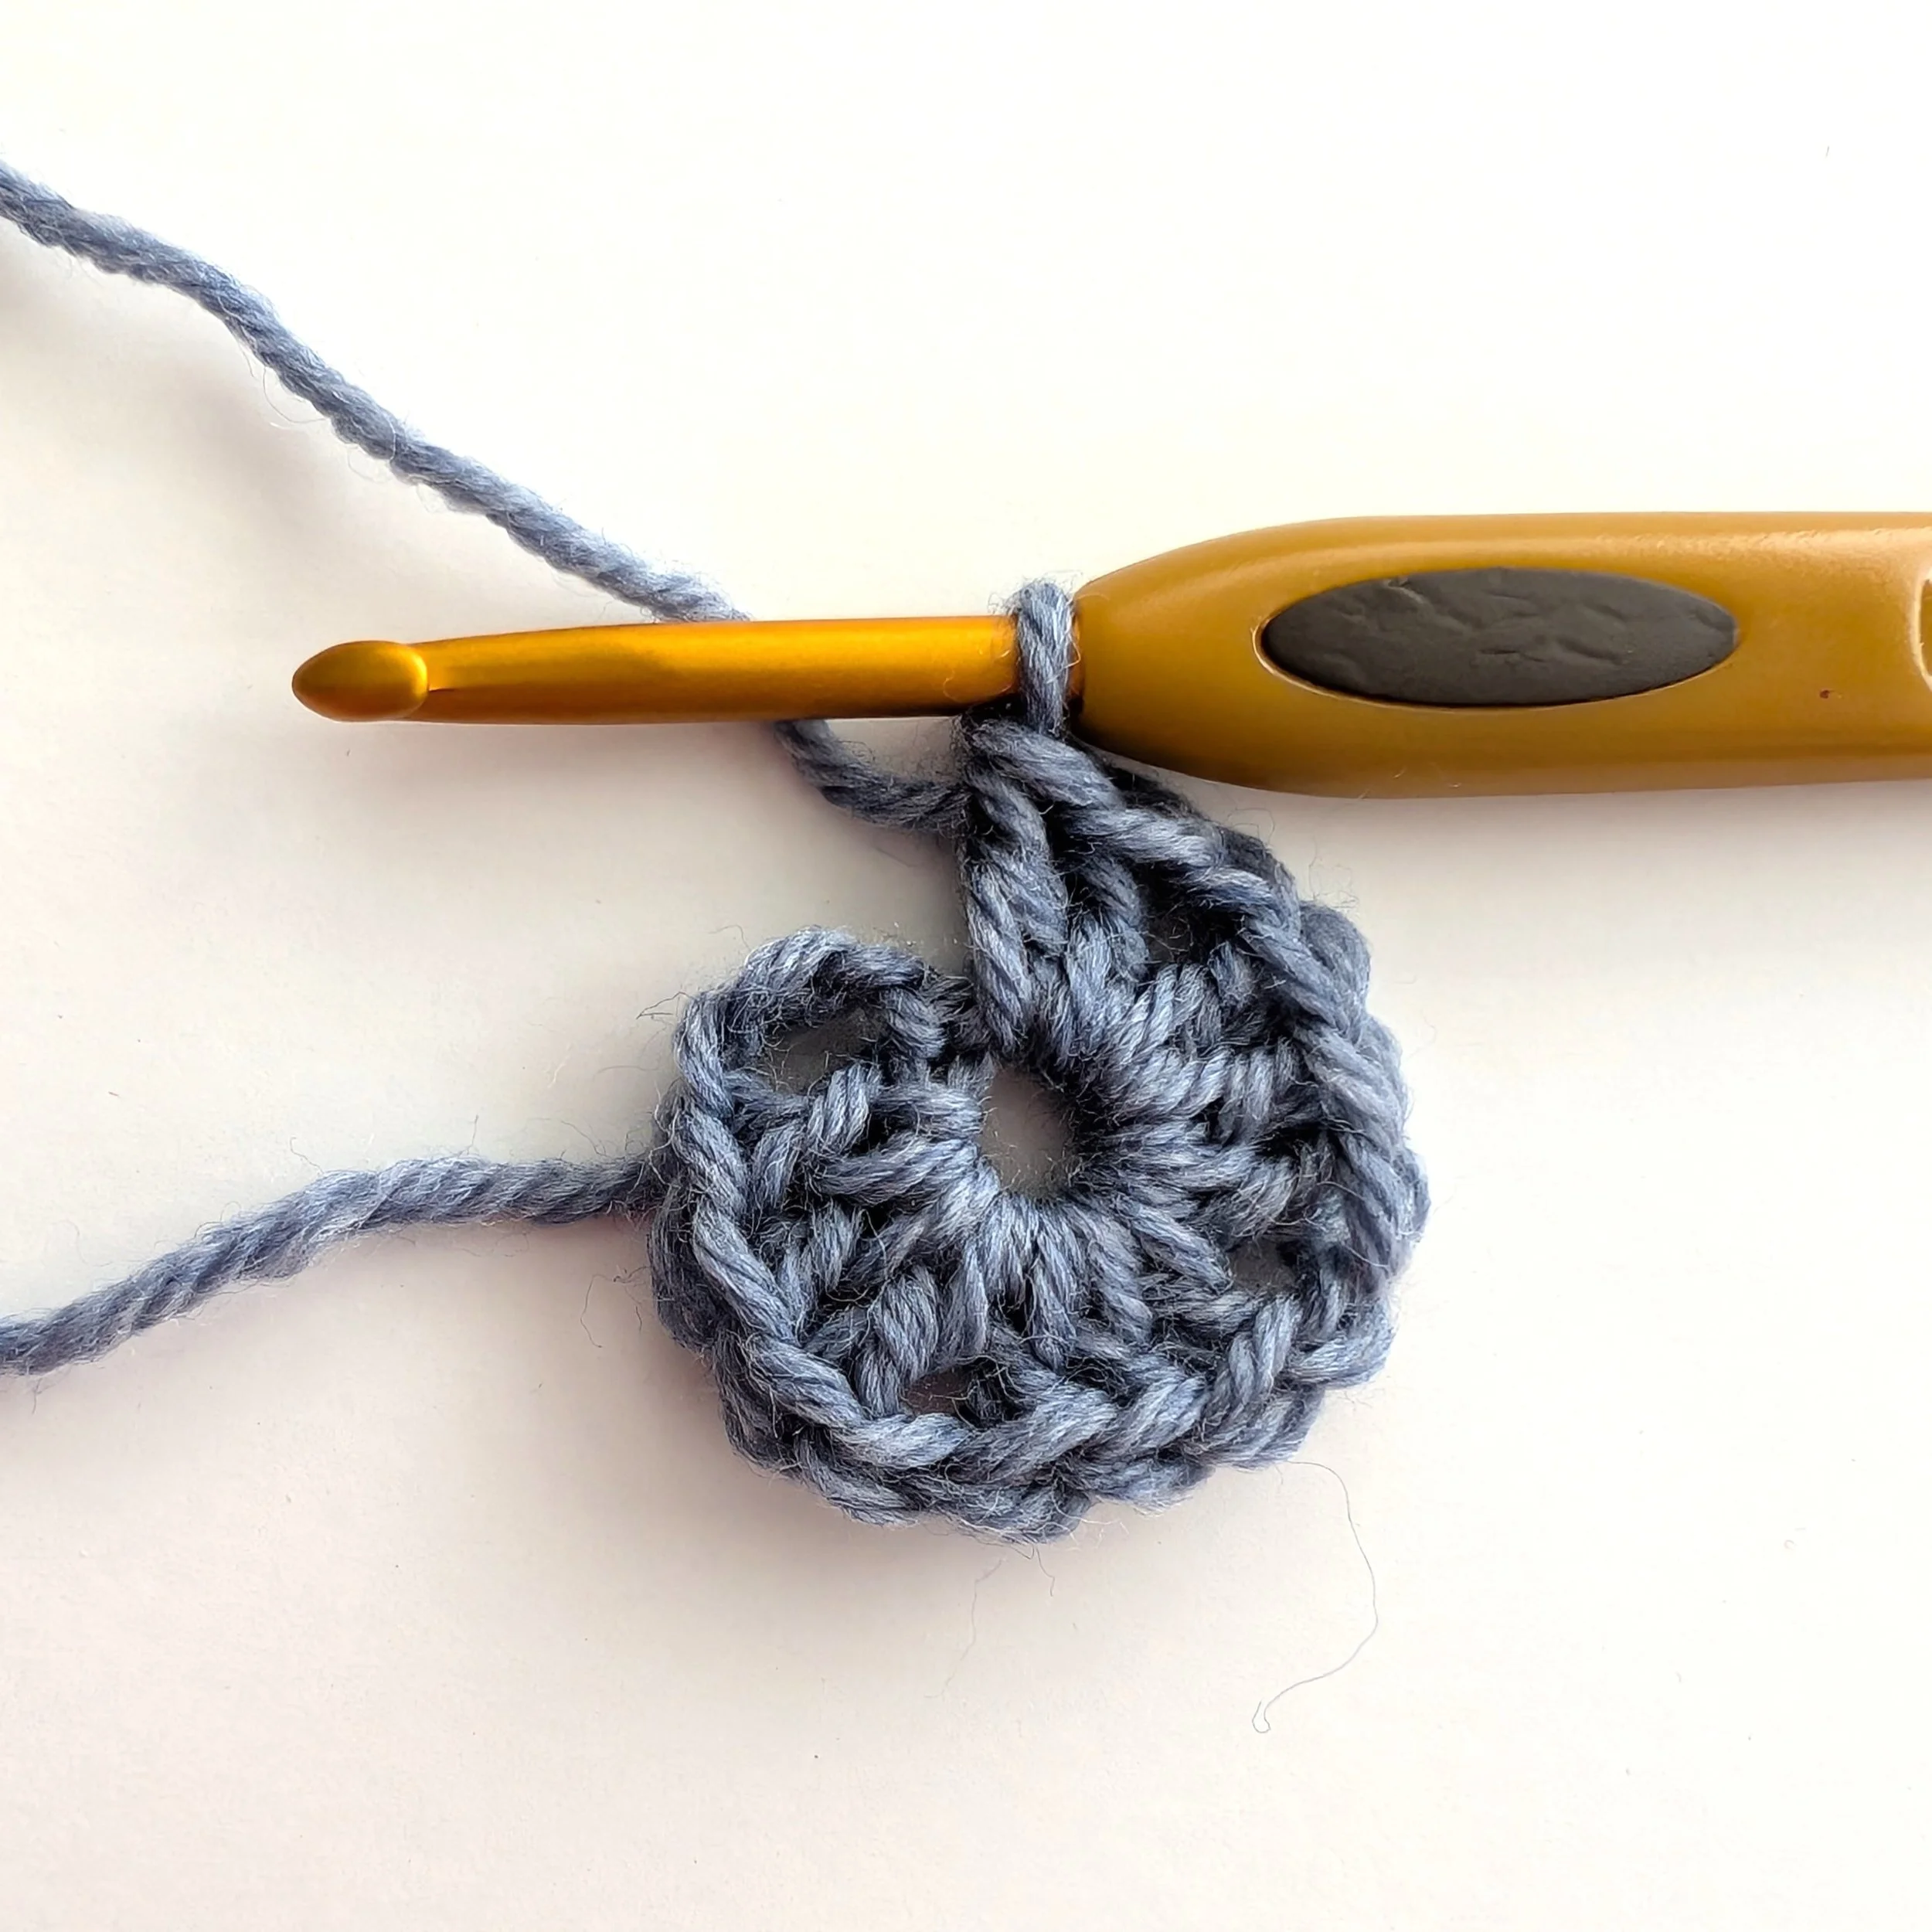
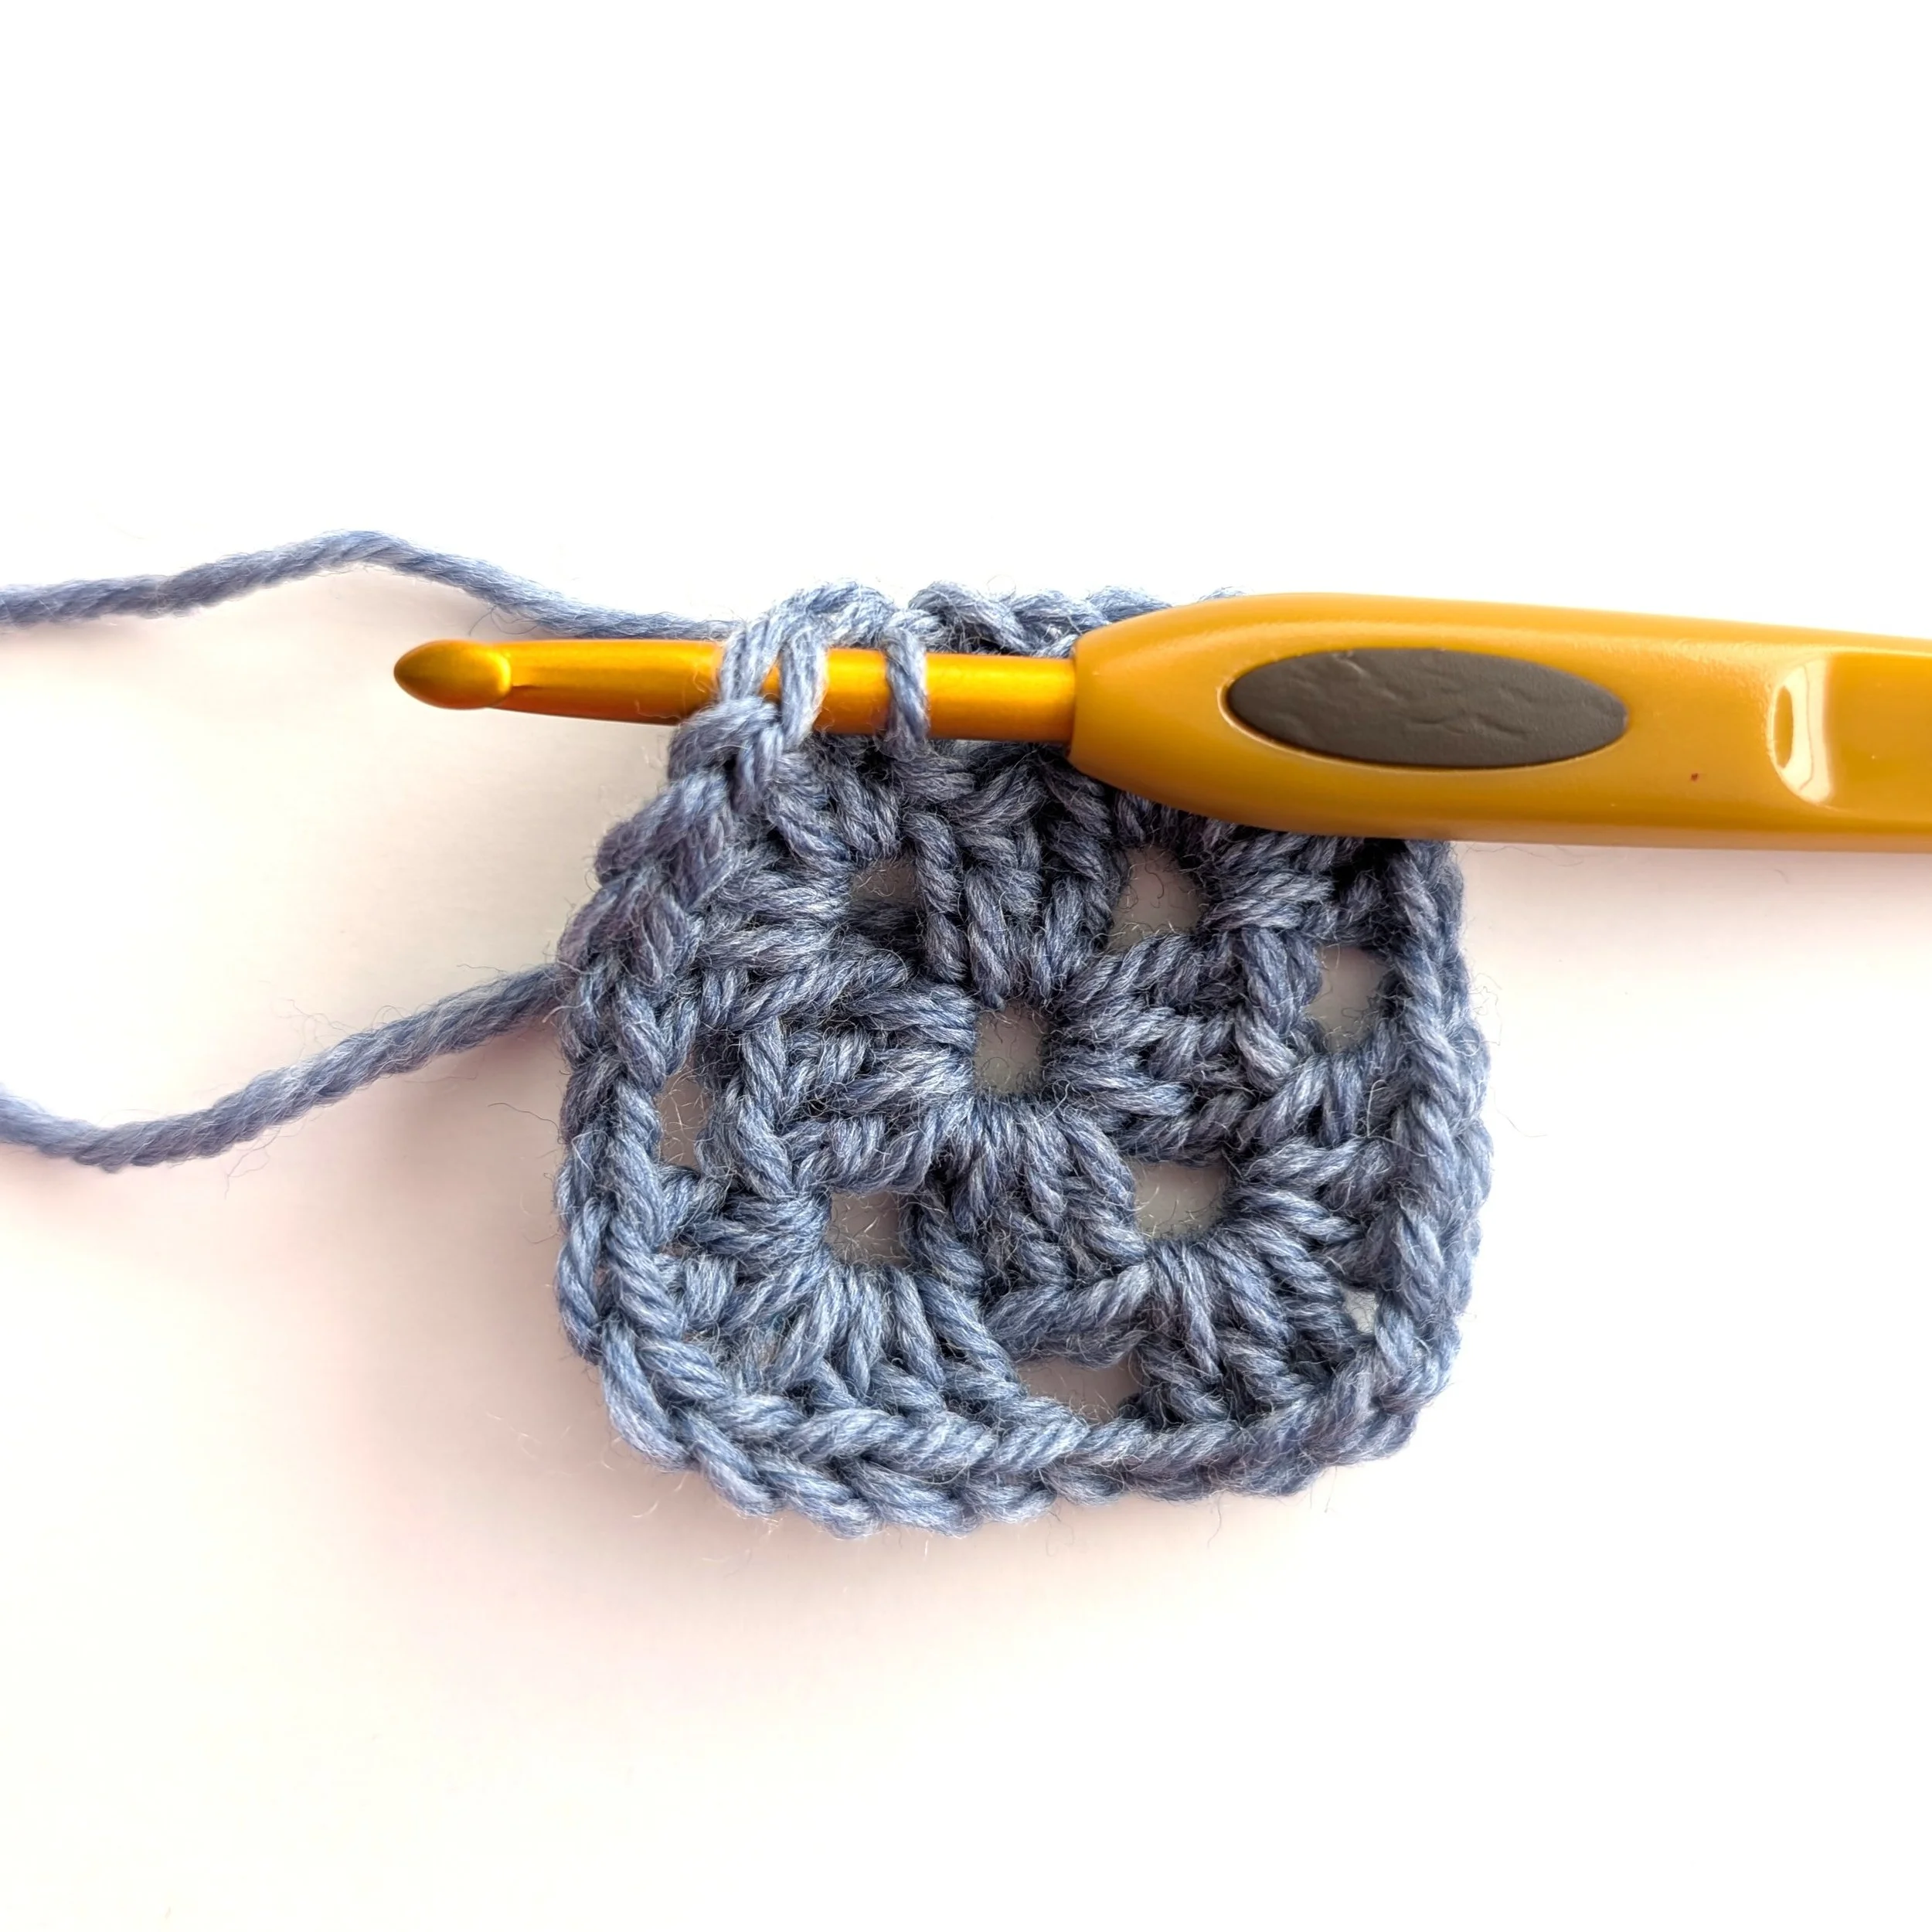
Work a slip stitch to join the beginning to the end of the first square layer. Now, we will work the second layer.

Once again, we want to create that height for this next layer. So, we will ch 3.
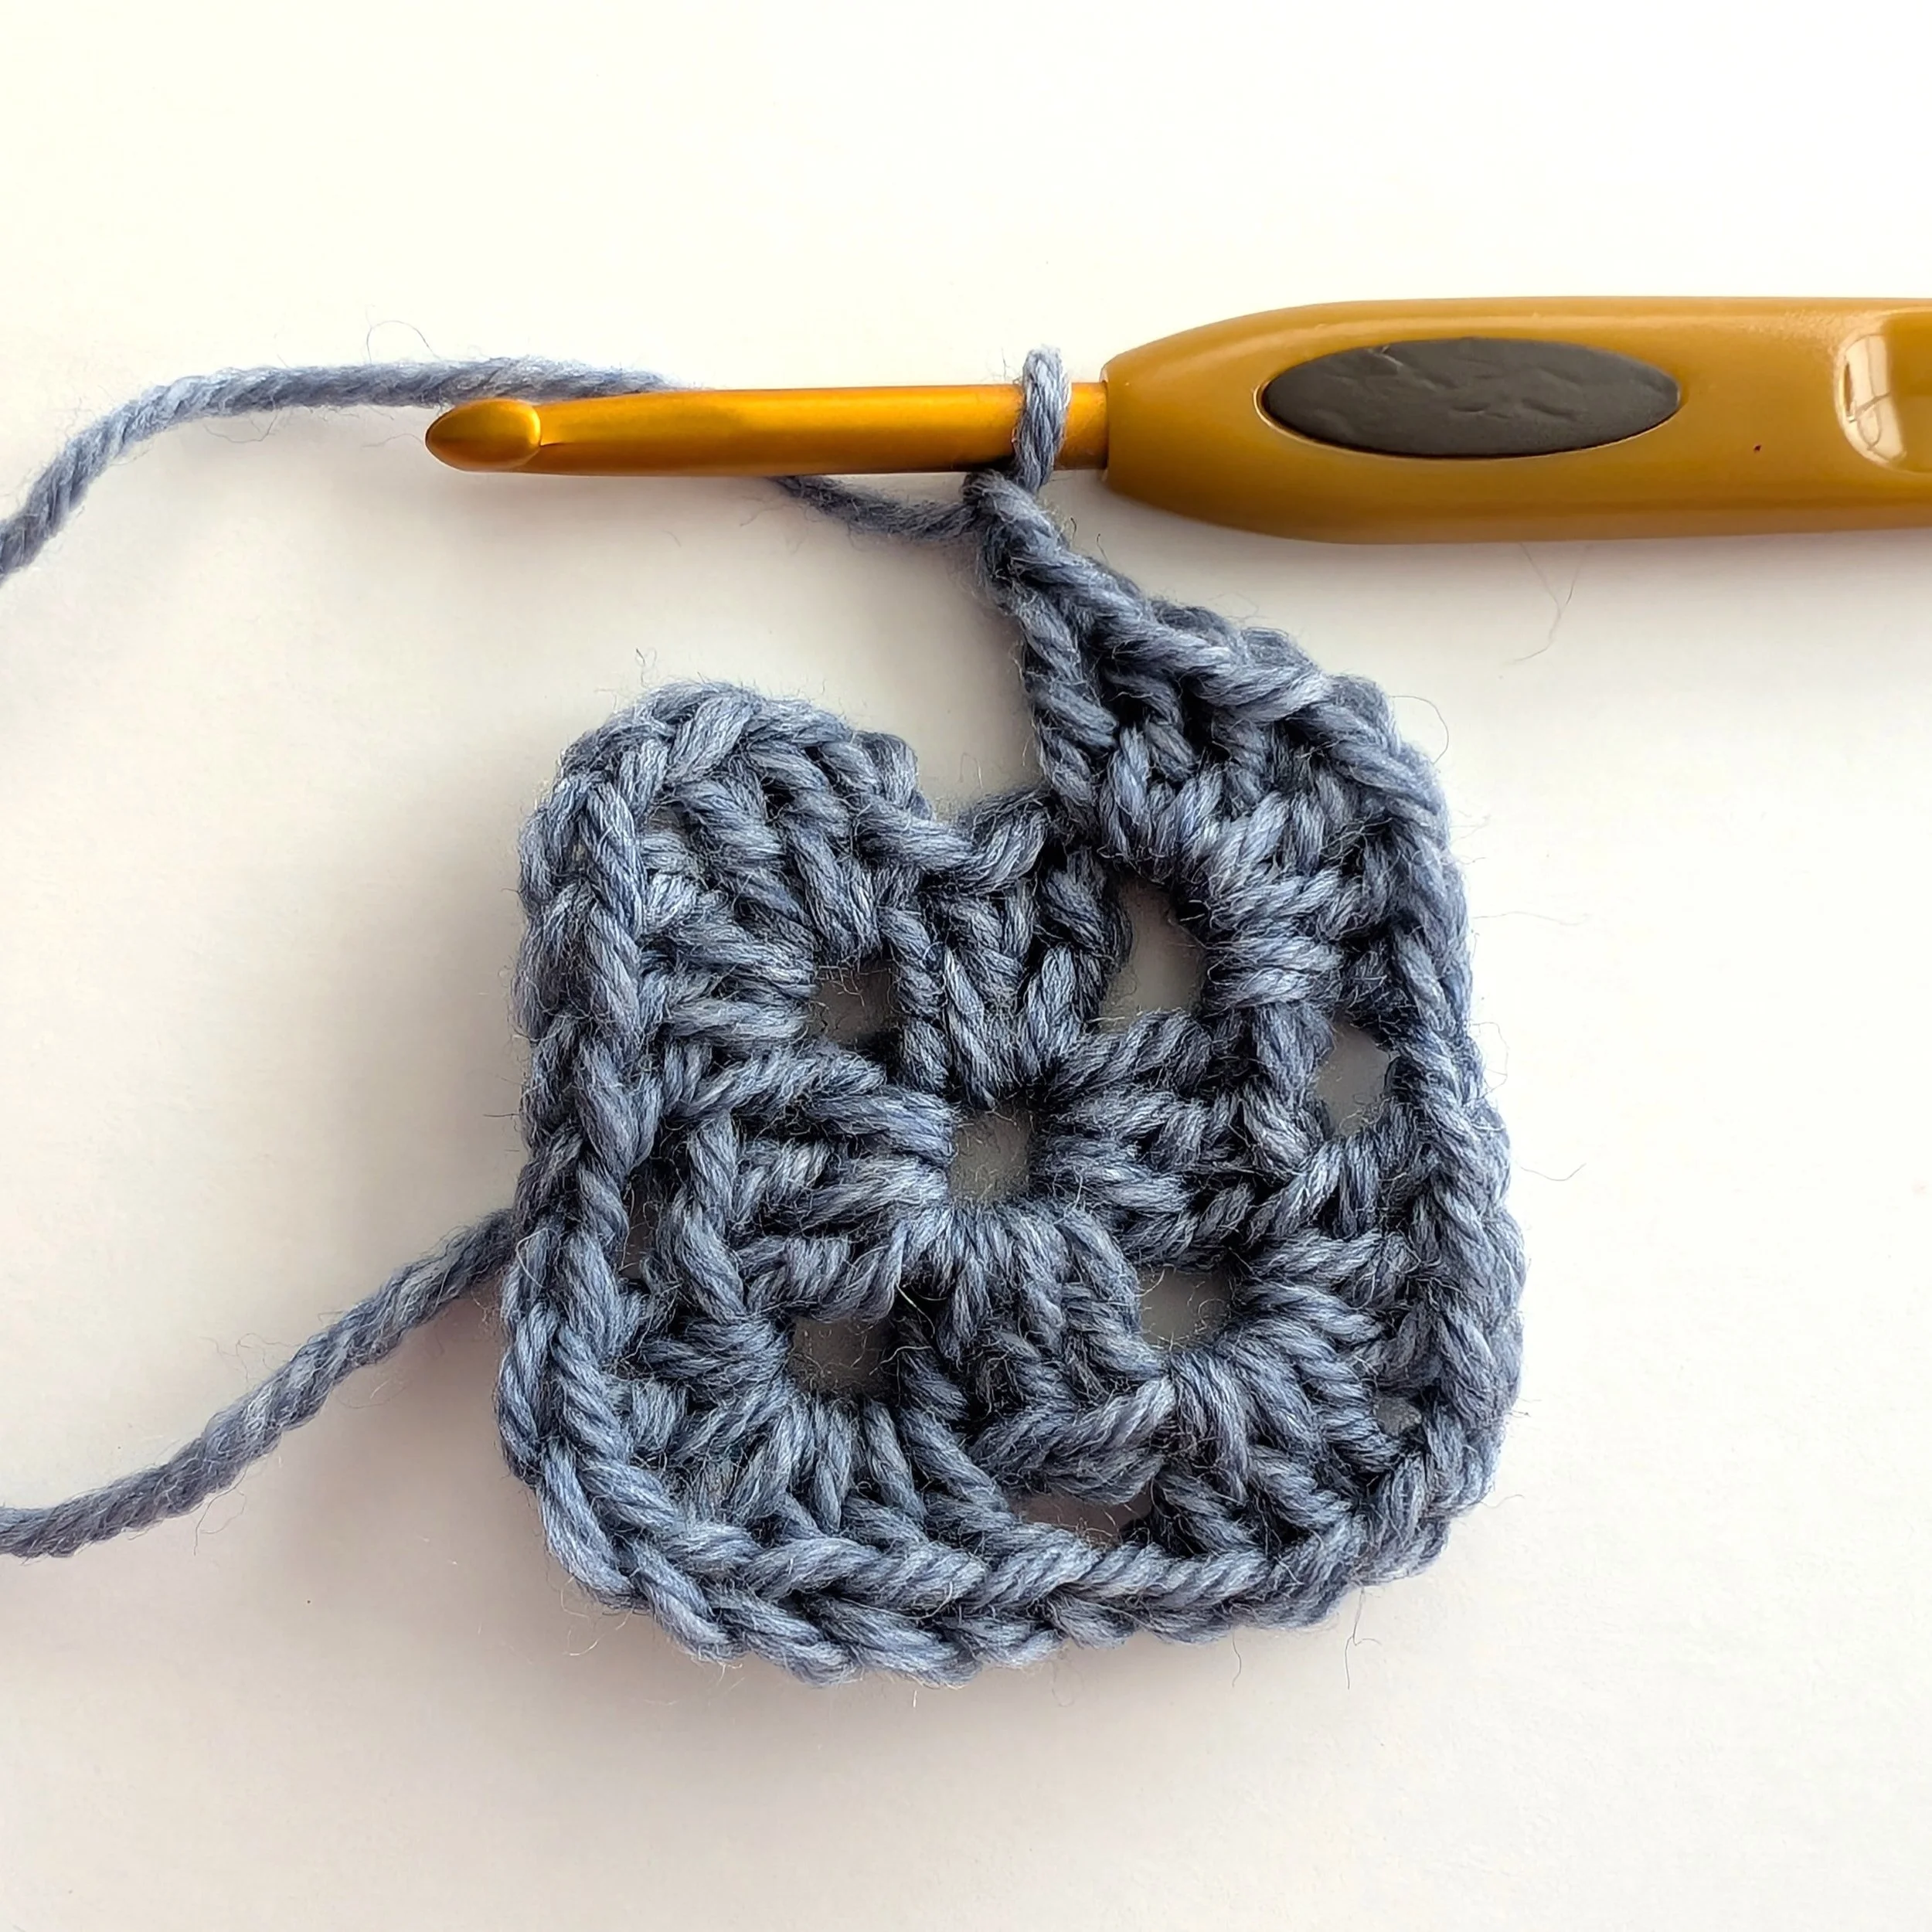
Create the rest of this corner by DC 2 sts (2 sts plus the ch 2 = cluster of 3 sts), ch 1, then DC 3 more sts, all in the same space. Then ch 1.
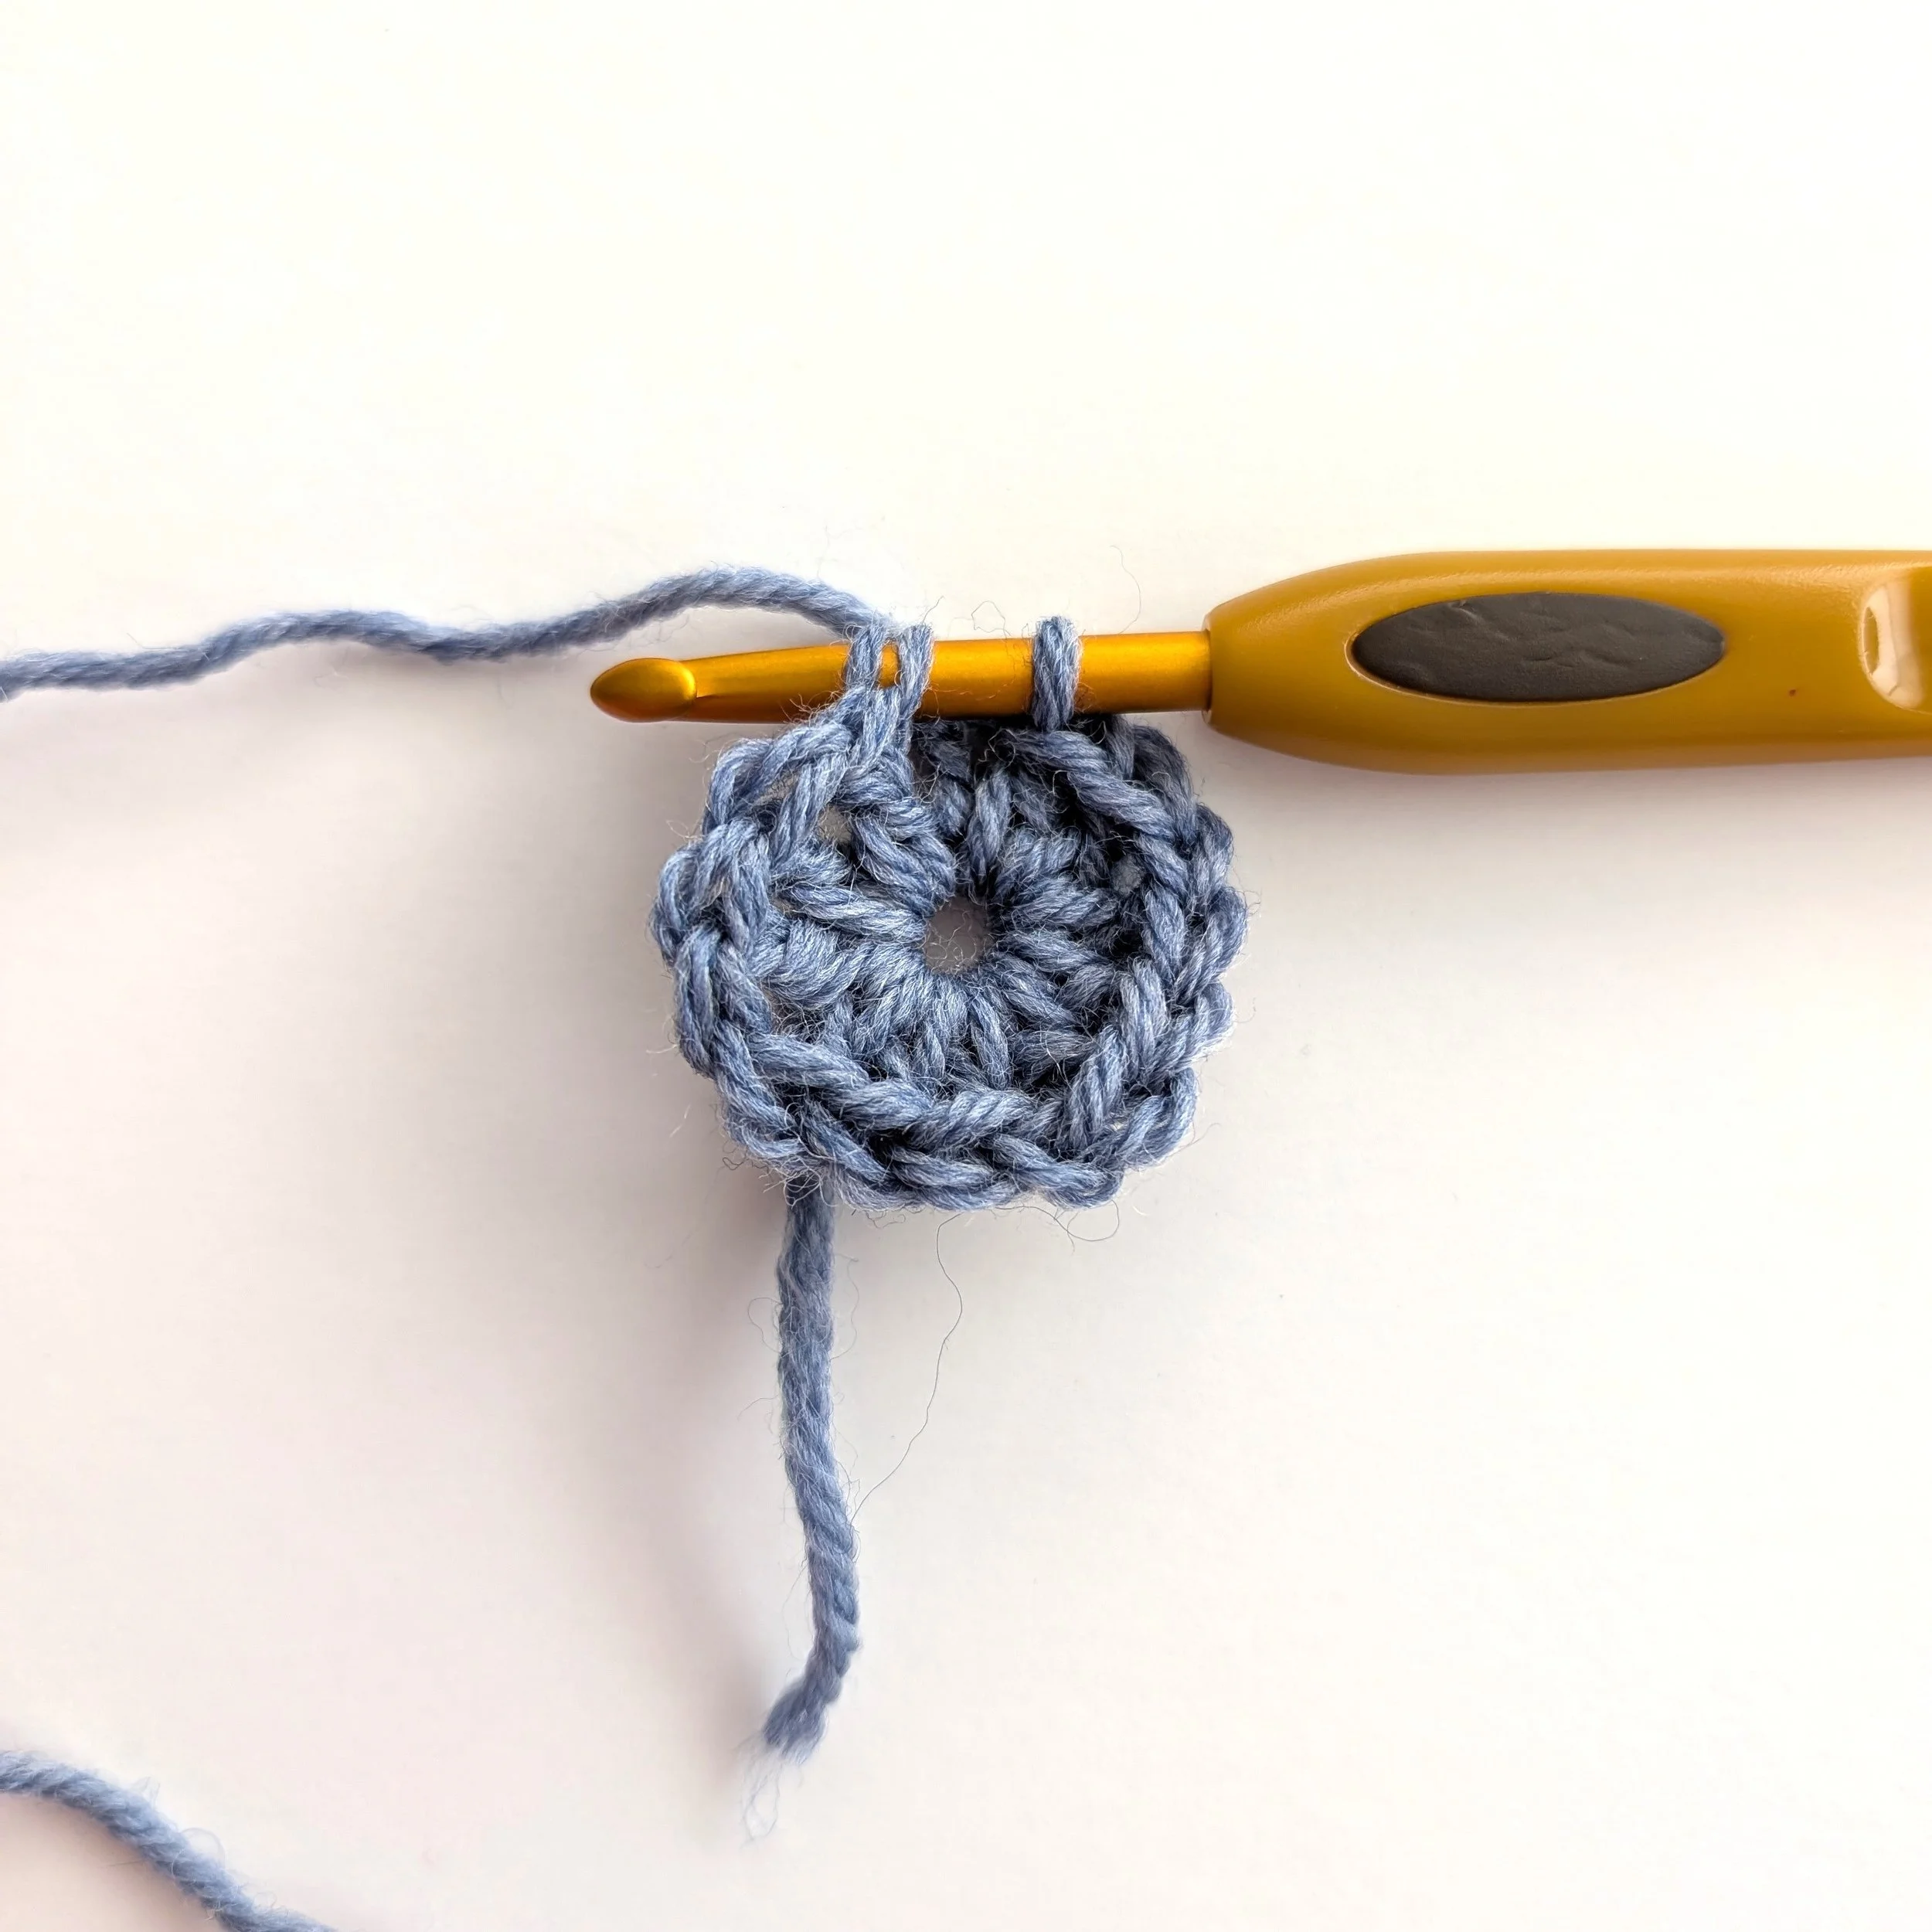
Move to the next space, and work another corner by working [3 DC, ch 1, 3 DC] all into that next space. Ch 1 to be able to move to the next space. (Again, I took the pic too early and don’t have that last chain 1 that should be there.)
Repeat making a corner [3 DC, ch 1, 3 DC, ch 1) into the other 2 spaces to create the remaining corners to complete the square. We are now ready to join the beginning and end of this layer.
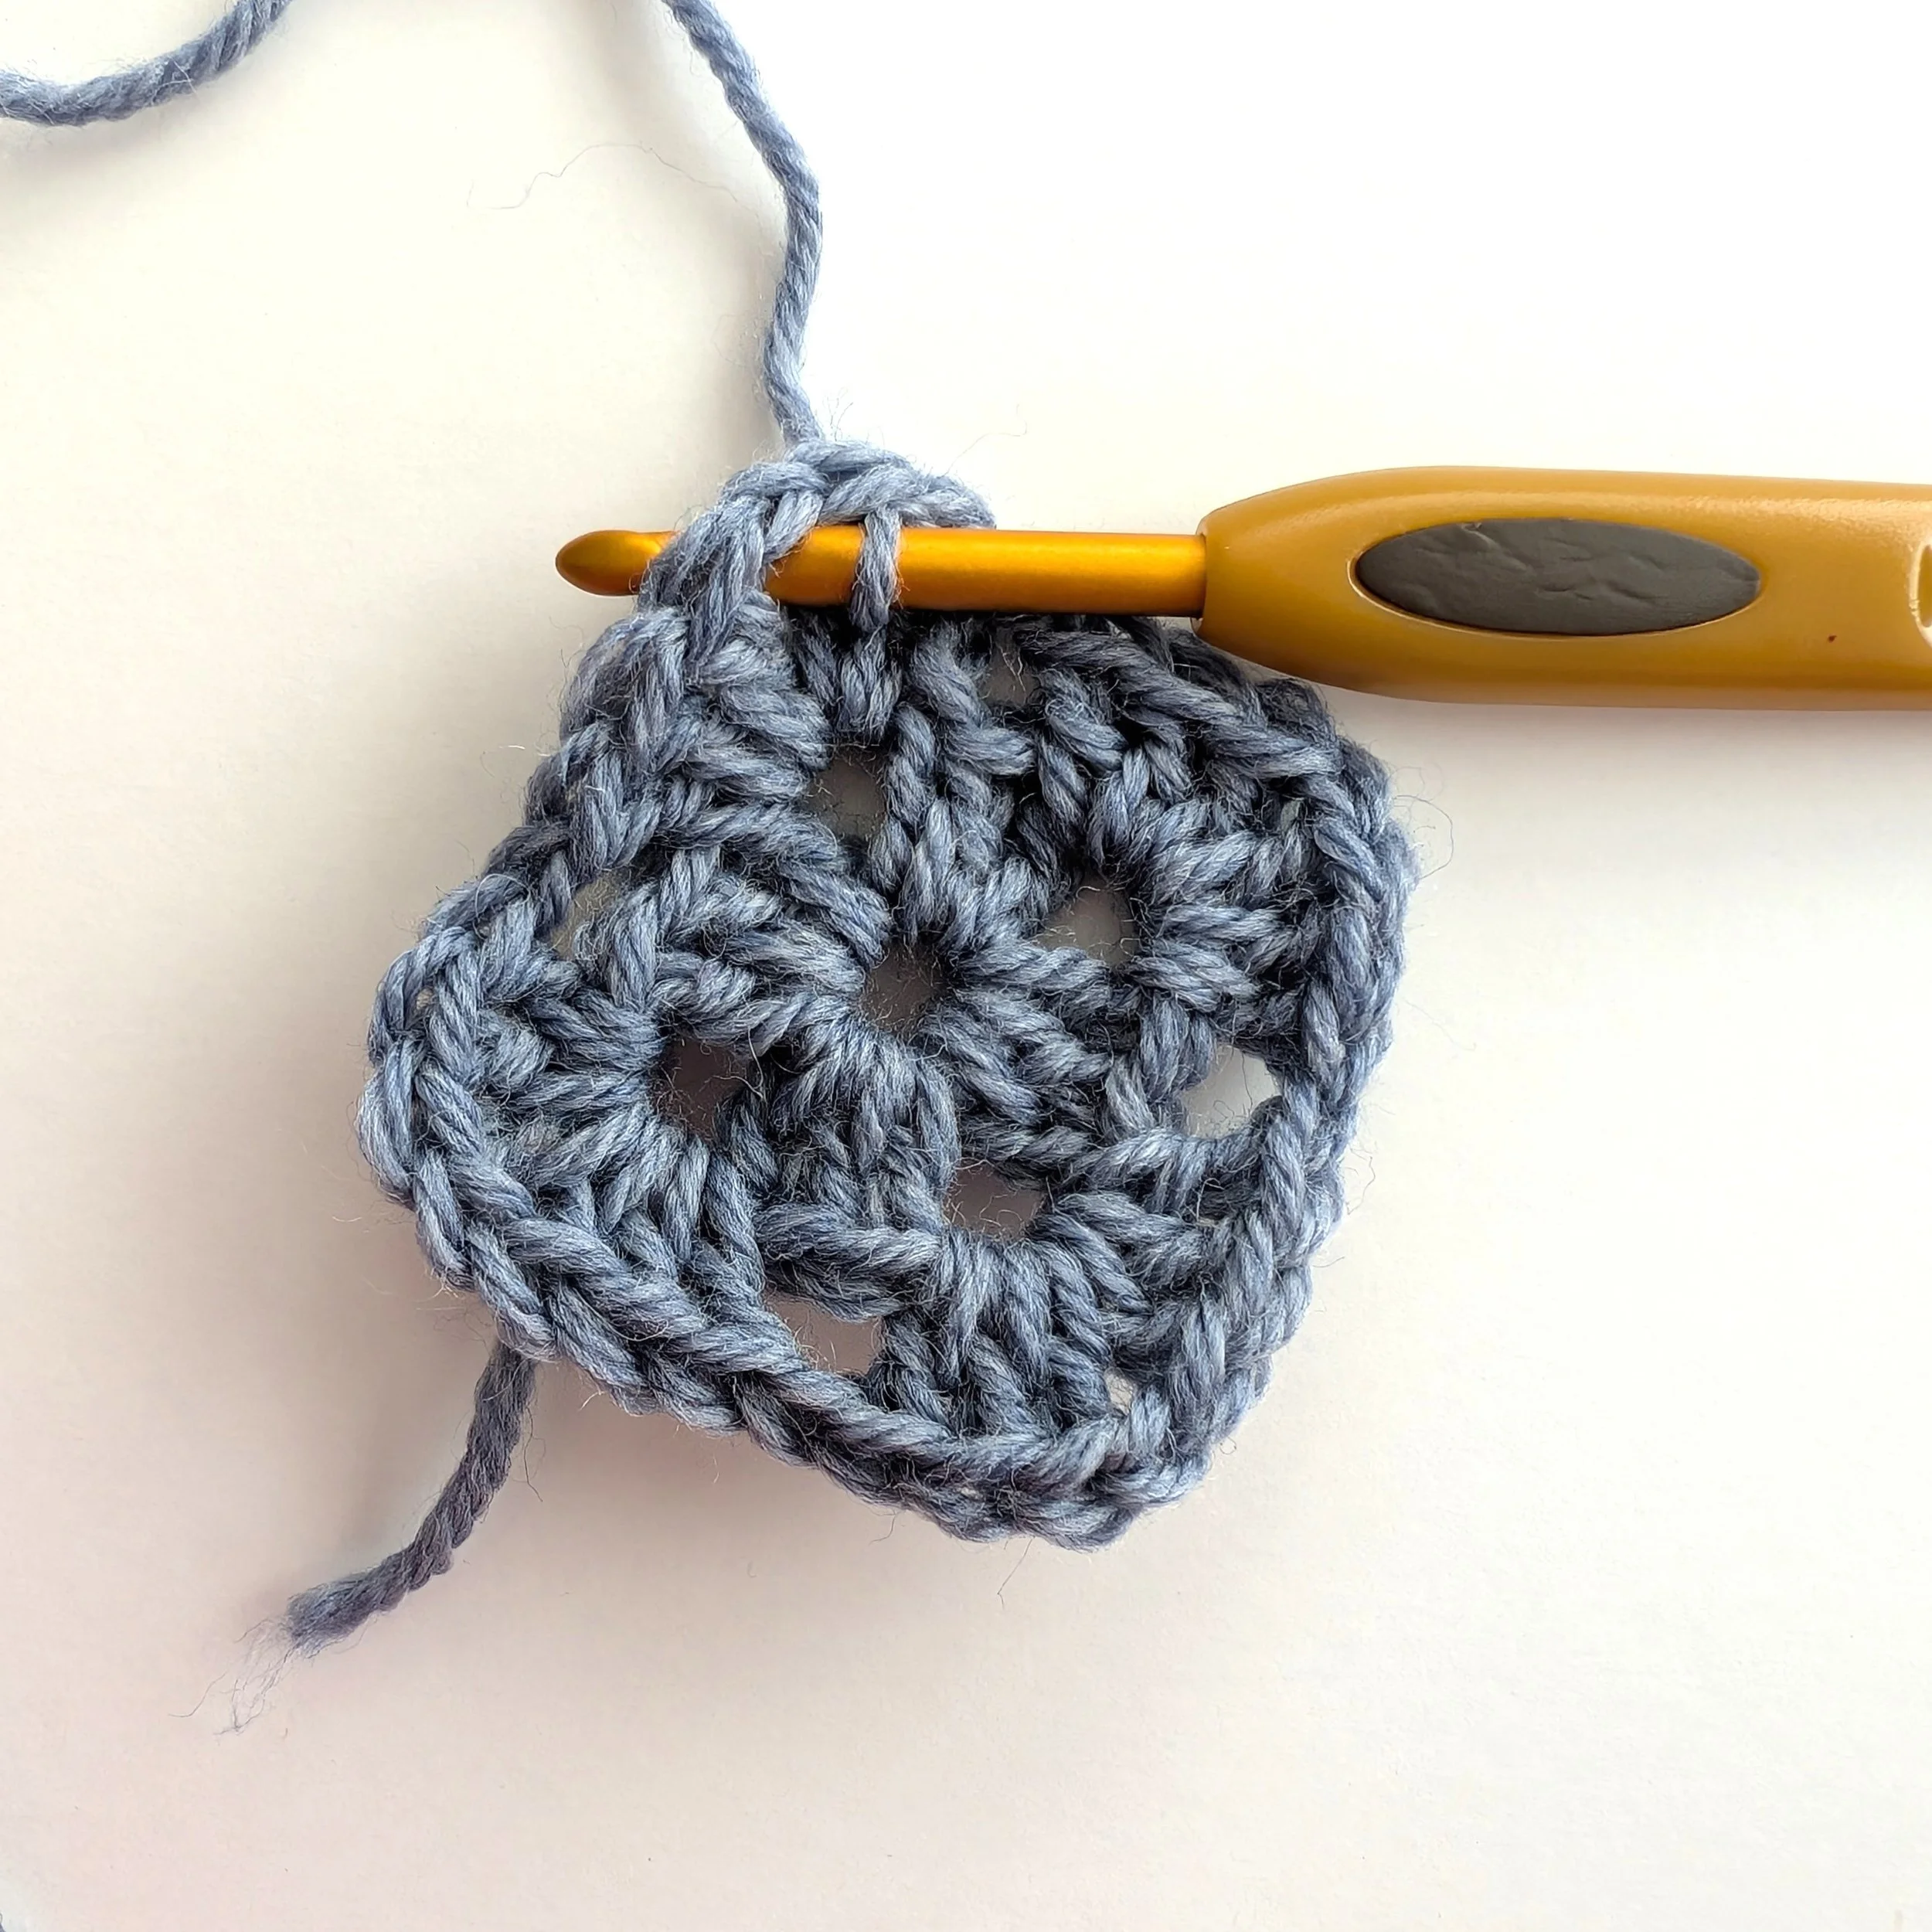
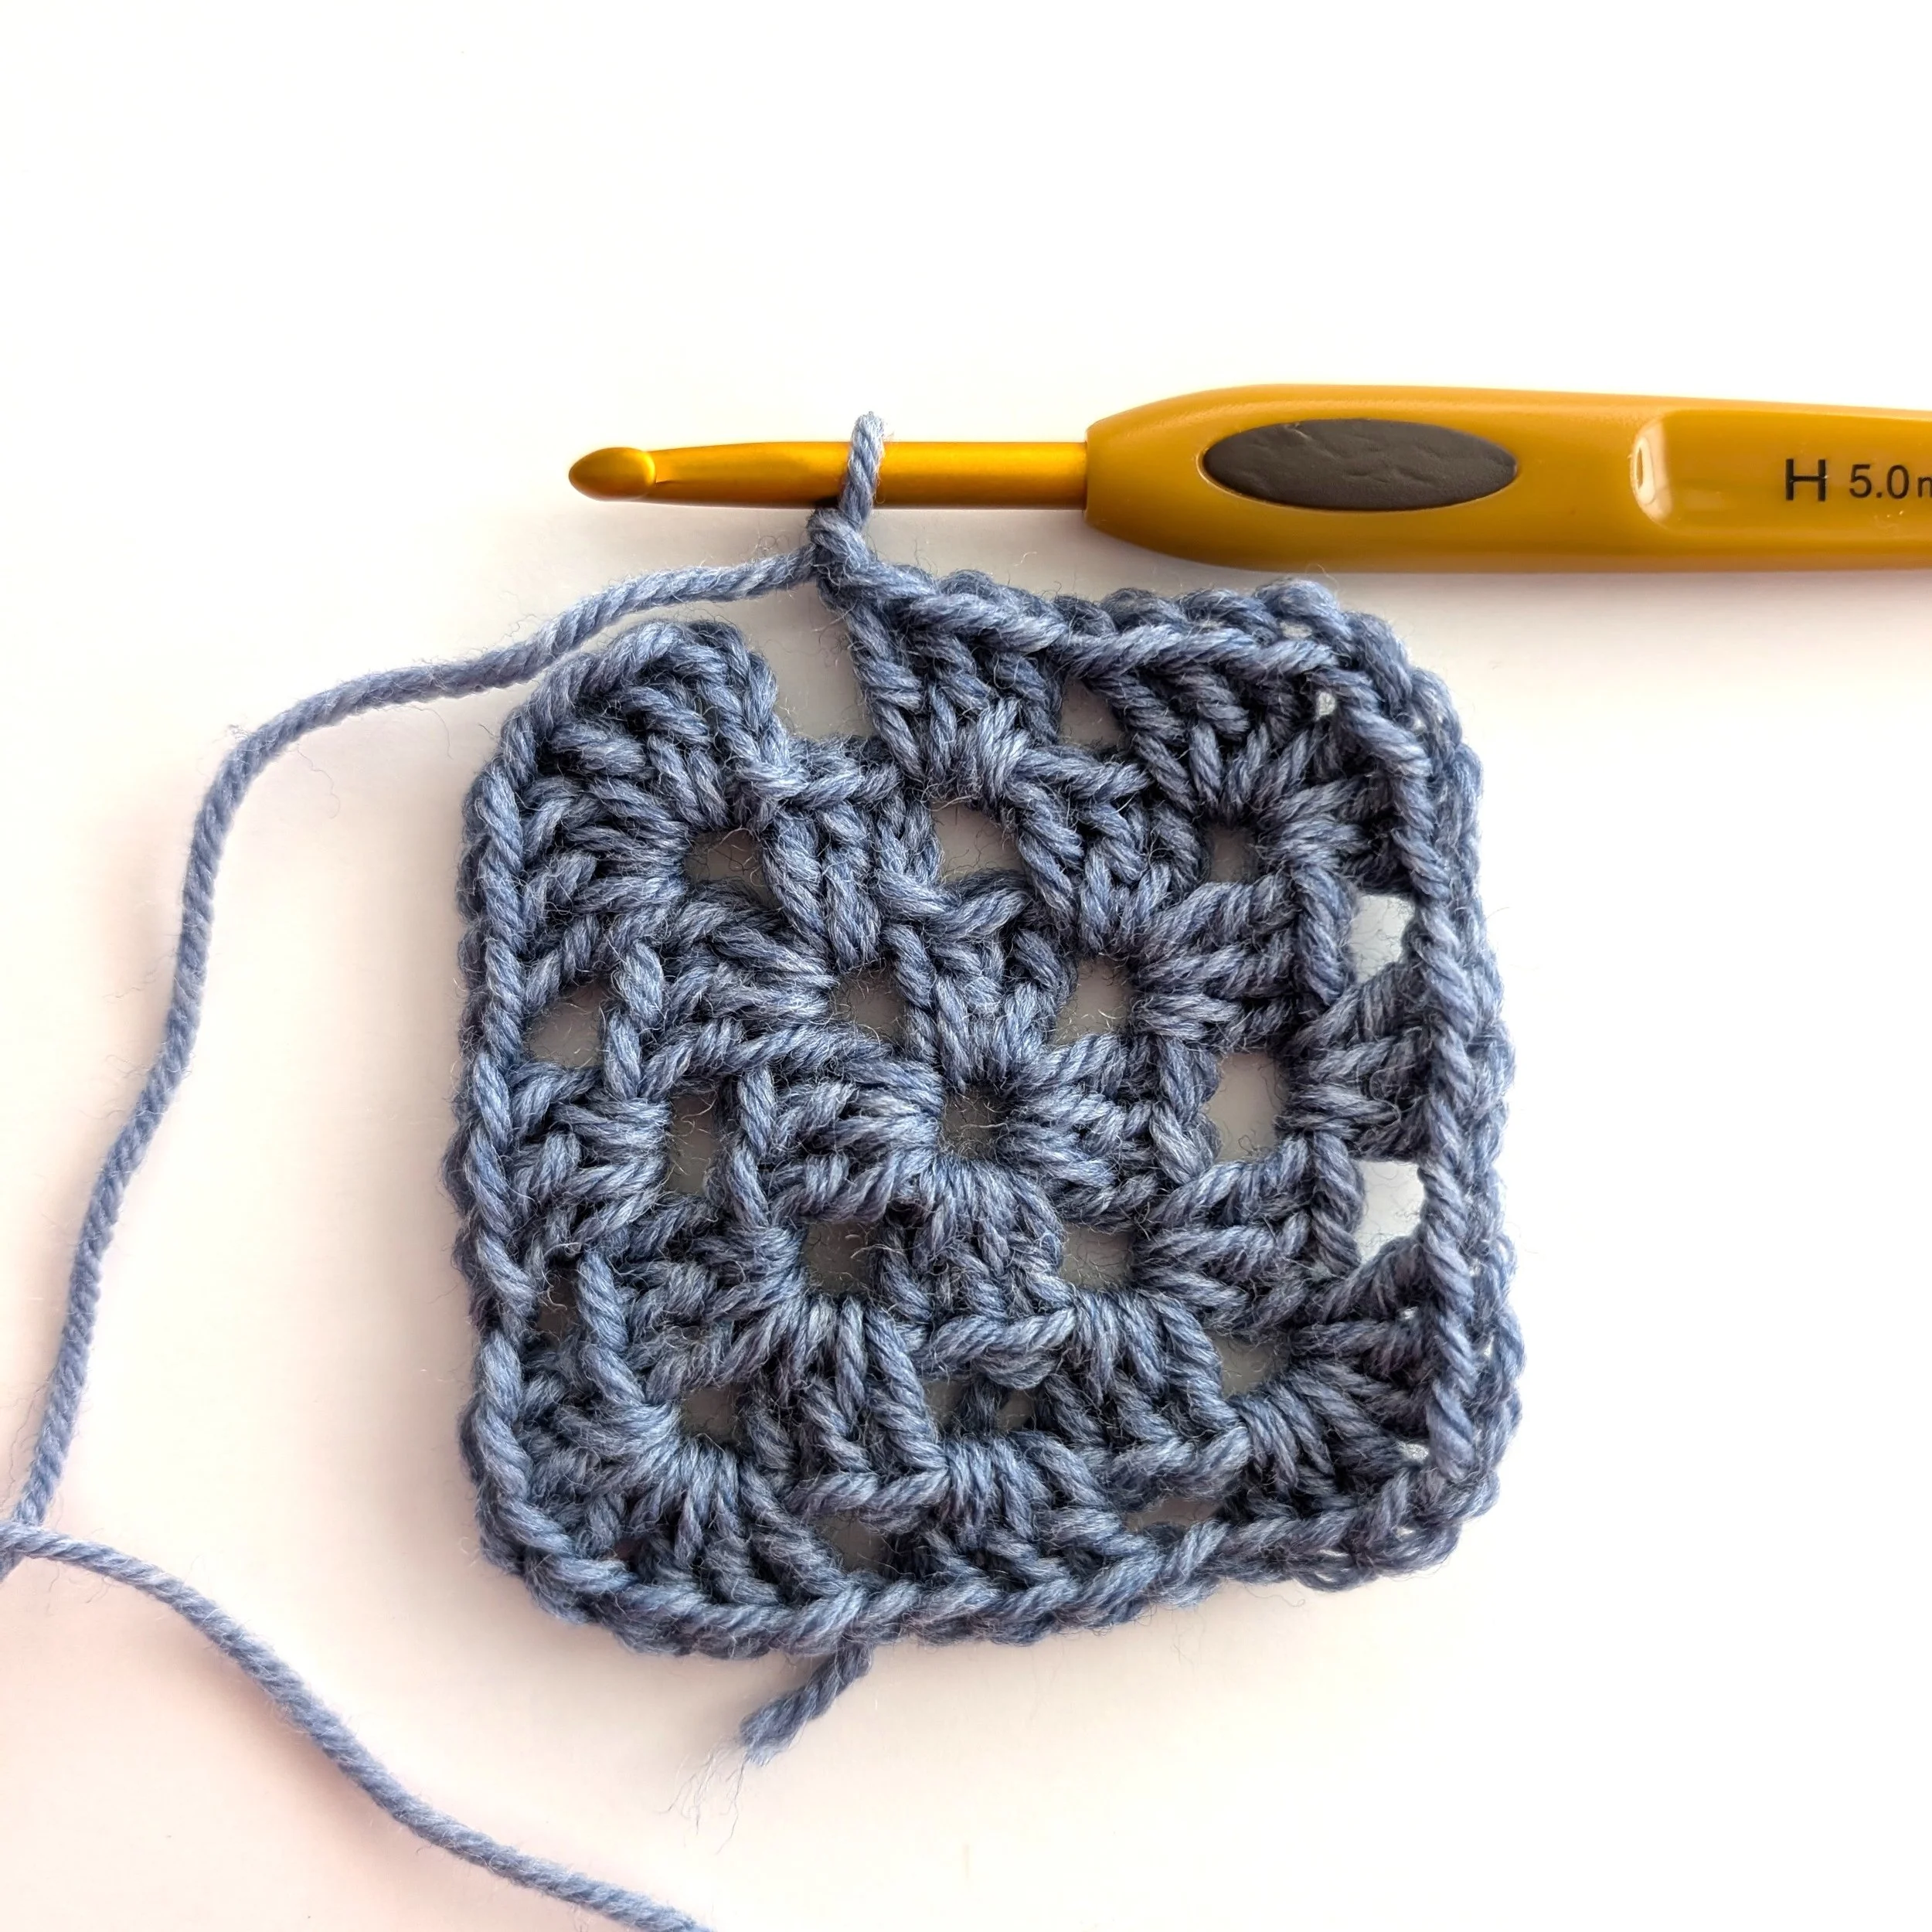
Work a slip stitch into either the 3rd chain from the bottom of your ch 3 OR into the space between your ch 3 and the next DC st. At this point, you may notice that your hook is not in a chain space area. You will need to move your hook to the next one.
Insert your hook into the next st and work a slip stitch. It is likely you need to repeat this step until you reach the corner.
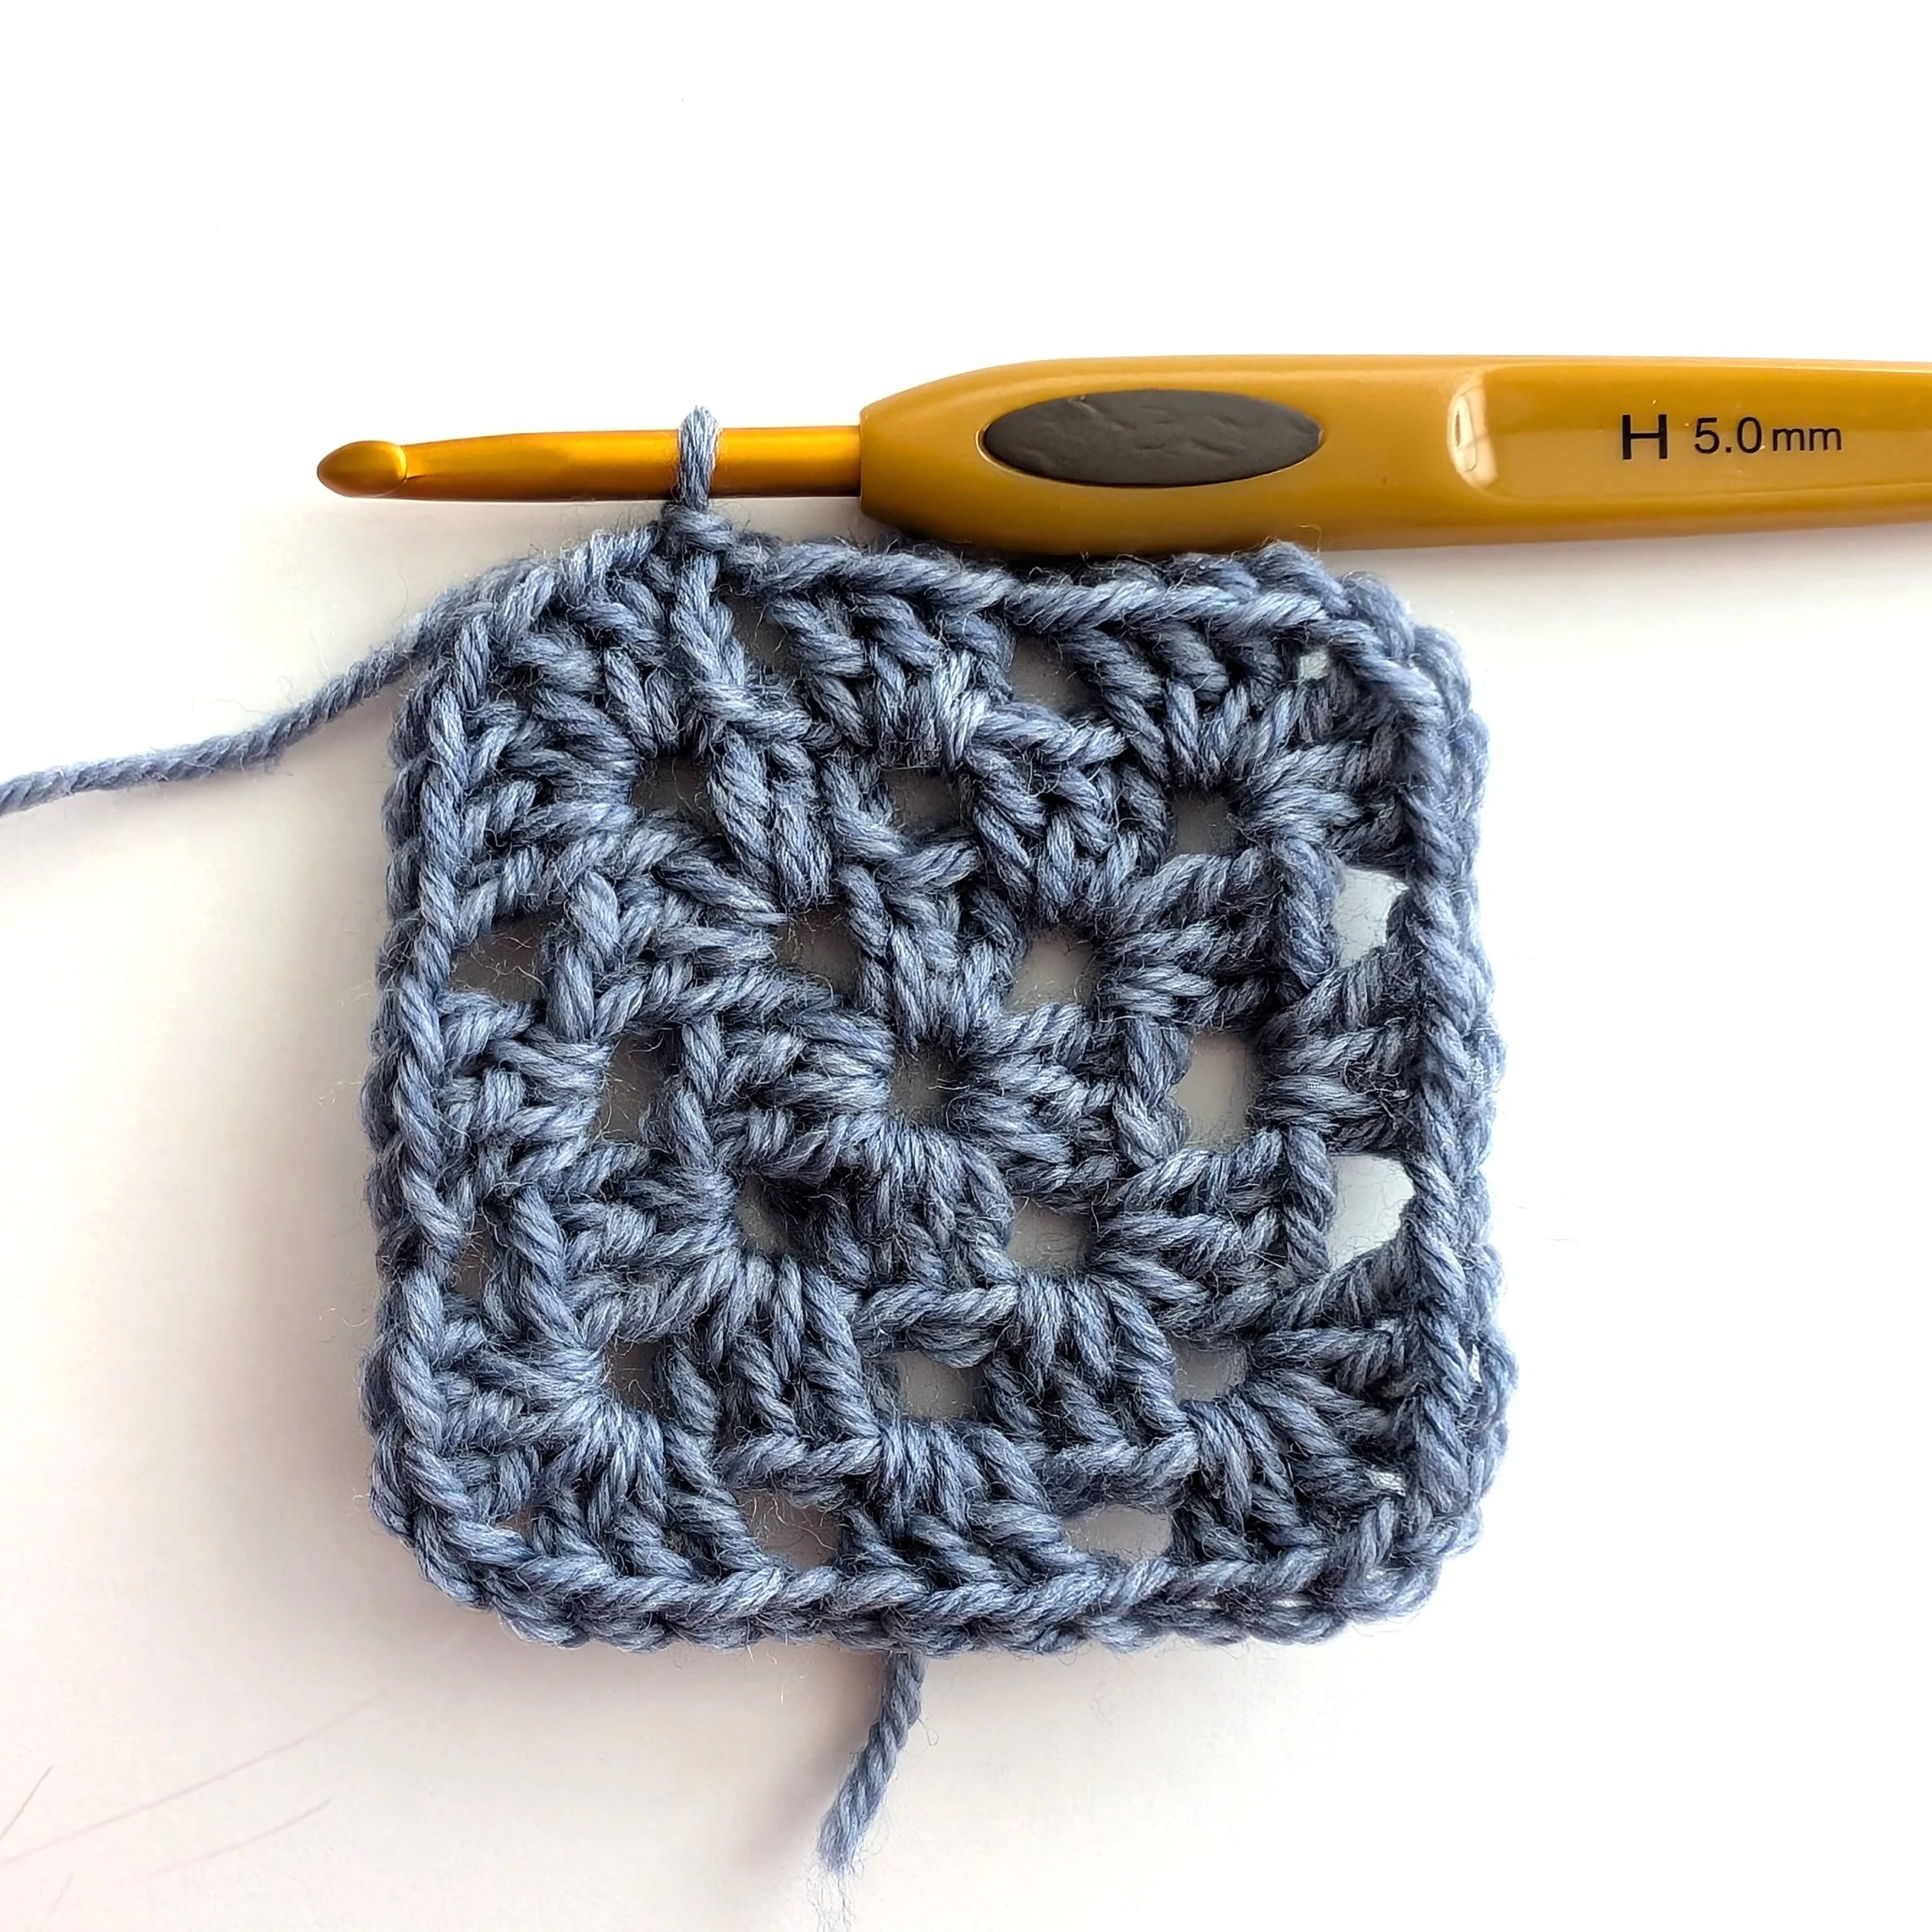
Work your last slip stitch directly into the corner chain space. Then begin making your next layer.
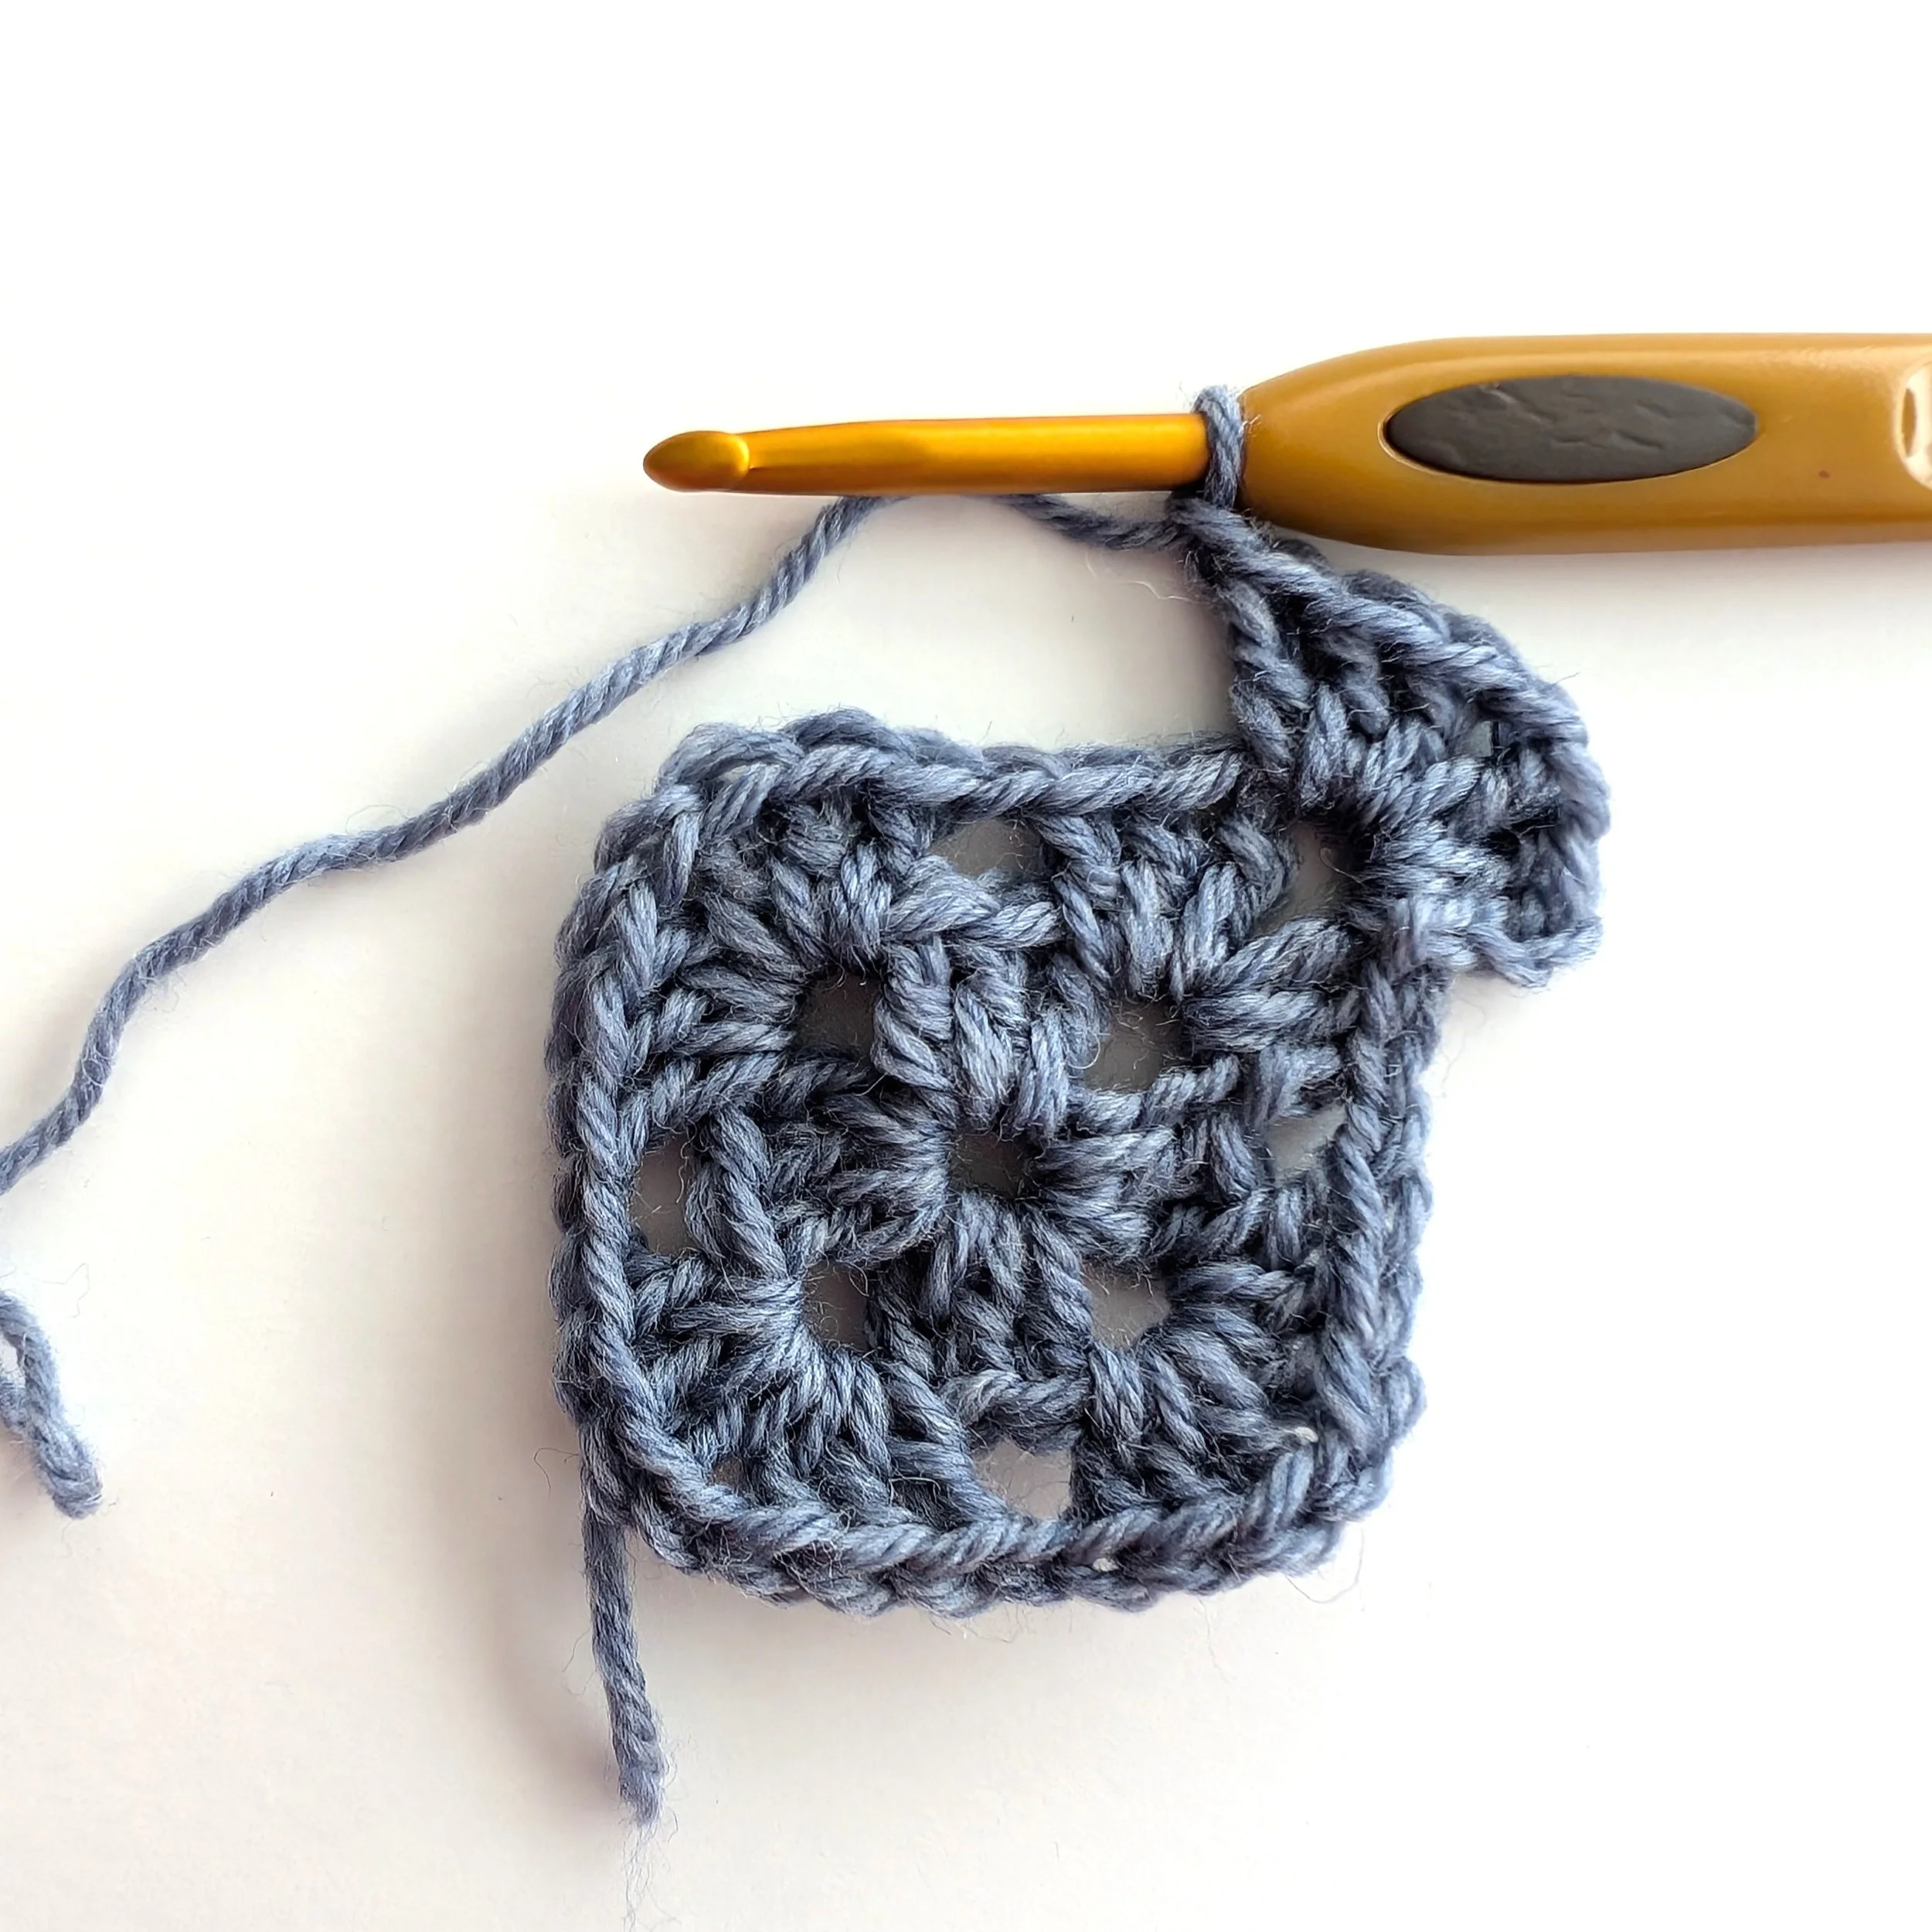
Make your corner: [ch 3, 2 DC, ch1, 3 DC, ch1], then we are ready to move to the next space.
You will note that this ch space is on the flat side of the square, and so we don’t want to make a corner into this space, so we will work 3 DC into that one space only, then ch 1.
Work around the square again. Working a corner [3 DC, ch 1, 3 DC] into each corner space, and a single cluster of [3 DC, ch 1] into each ch space along a flat section of the square. When you get to the last space, join the beginning to the end with a slip stitch again.
If you’d like to end it here, secure the last st in place, weave in ends and then block. If you would like to continue making it larger, slip stitch to the corner space, and repeat the process of making corners in the corner spaces, and a single cluster in the flat spaces.
If you’re interested in changing colors, start that once you work your ch 3 that begins your next level/round. Each round can be a different color, if you’d like!
Different Granny Squares will be made slightly differently, but this is one of the ways to make a fairly classic one! You can make some alterations (such as chaining 2 to create larger spaces or you can see what they look like if you only work 2 DC in each cluster or 4 DC, etc), so feel free to experiment and see how you like your Granny Squares! Enjoy!
